
Y’all know those Little Debbie Christmas tree cakes at the grocery store? Well I made y’all a bomb copycat that straight up delivers! And it’s just so fun to make with the fam during the holidays. I keep it easy by starting with cake mix to cut down time but I spend some effort on a delish Swiss meringue filling that’s just perfection. Add some icing and sprinkles and these will look just like the OG.
This post may contain affiliate links. Read our disclosure policy.
How to Make Little Debbie Christmas Tree Cakes
These step-by-step photos show how to make copycat Little Debbie Christmas tree cakes, but be sure to check the recipe card below for the full ingredient list and detailed instructions. Skip to the → Little Debbie Christmas Tree Cakes Recipe
1. Mix and bake the sheet cake
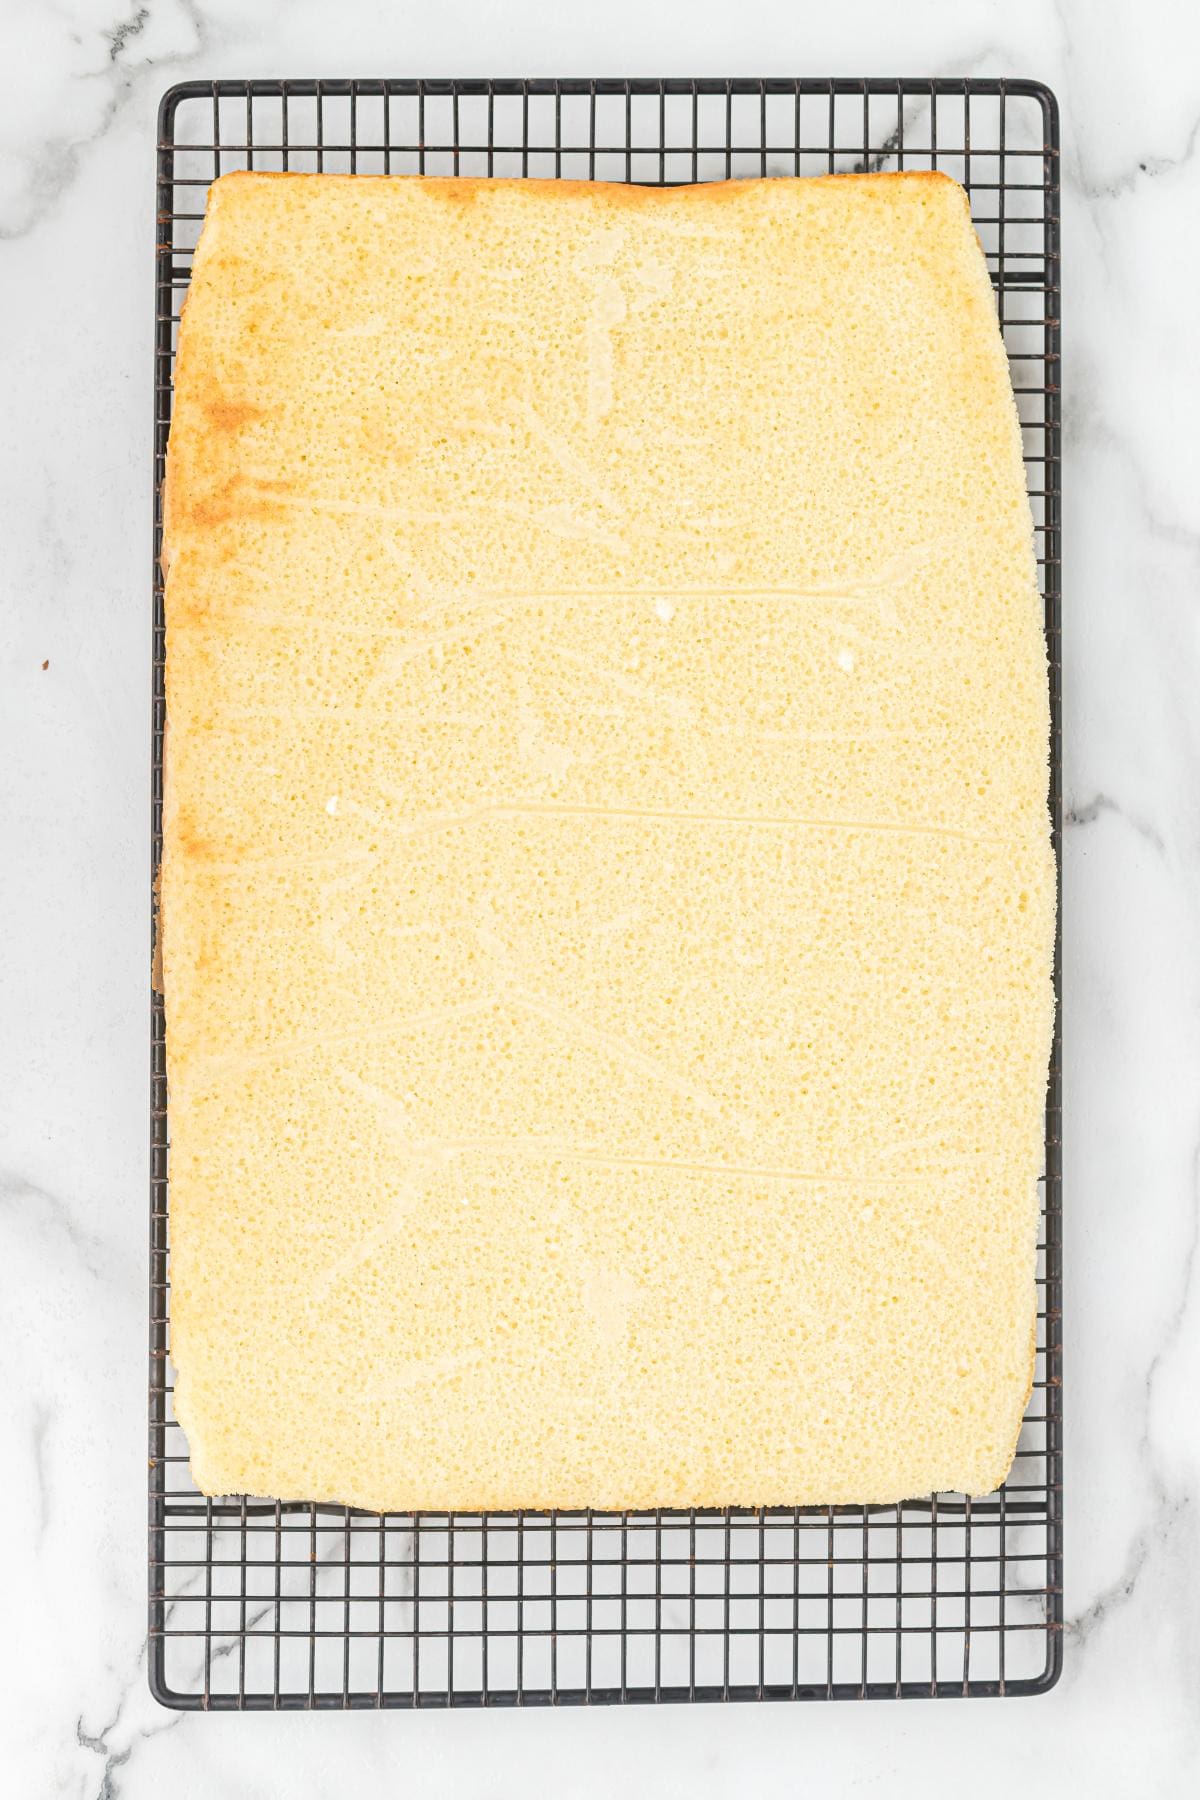
Bake the batter in a rimmed sheet pan until done, then release it onto a wire rack to cool completely.
2. Cut Christmas tree shapes
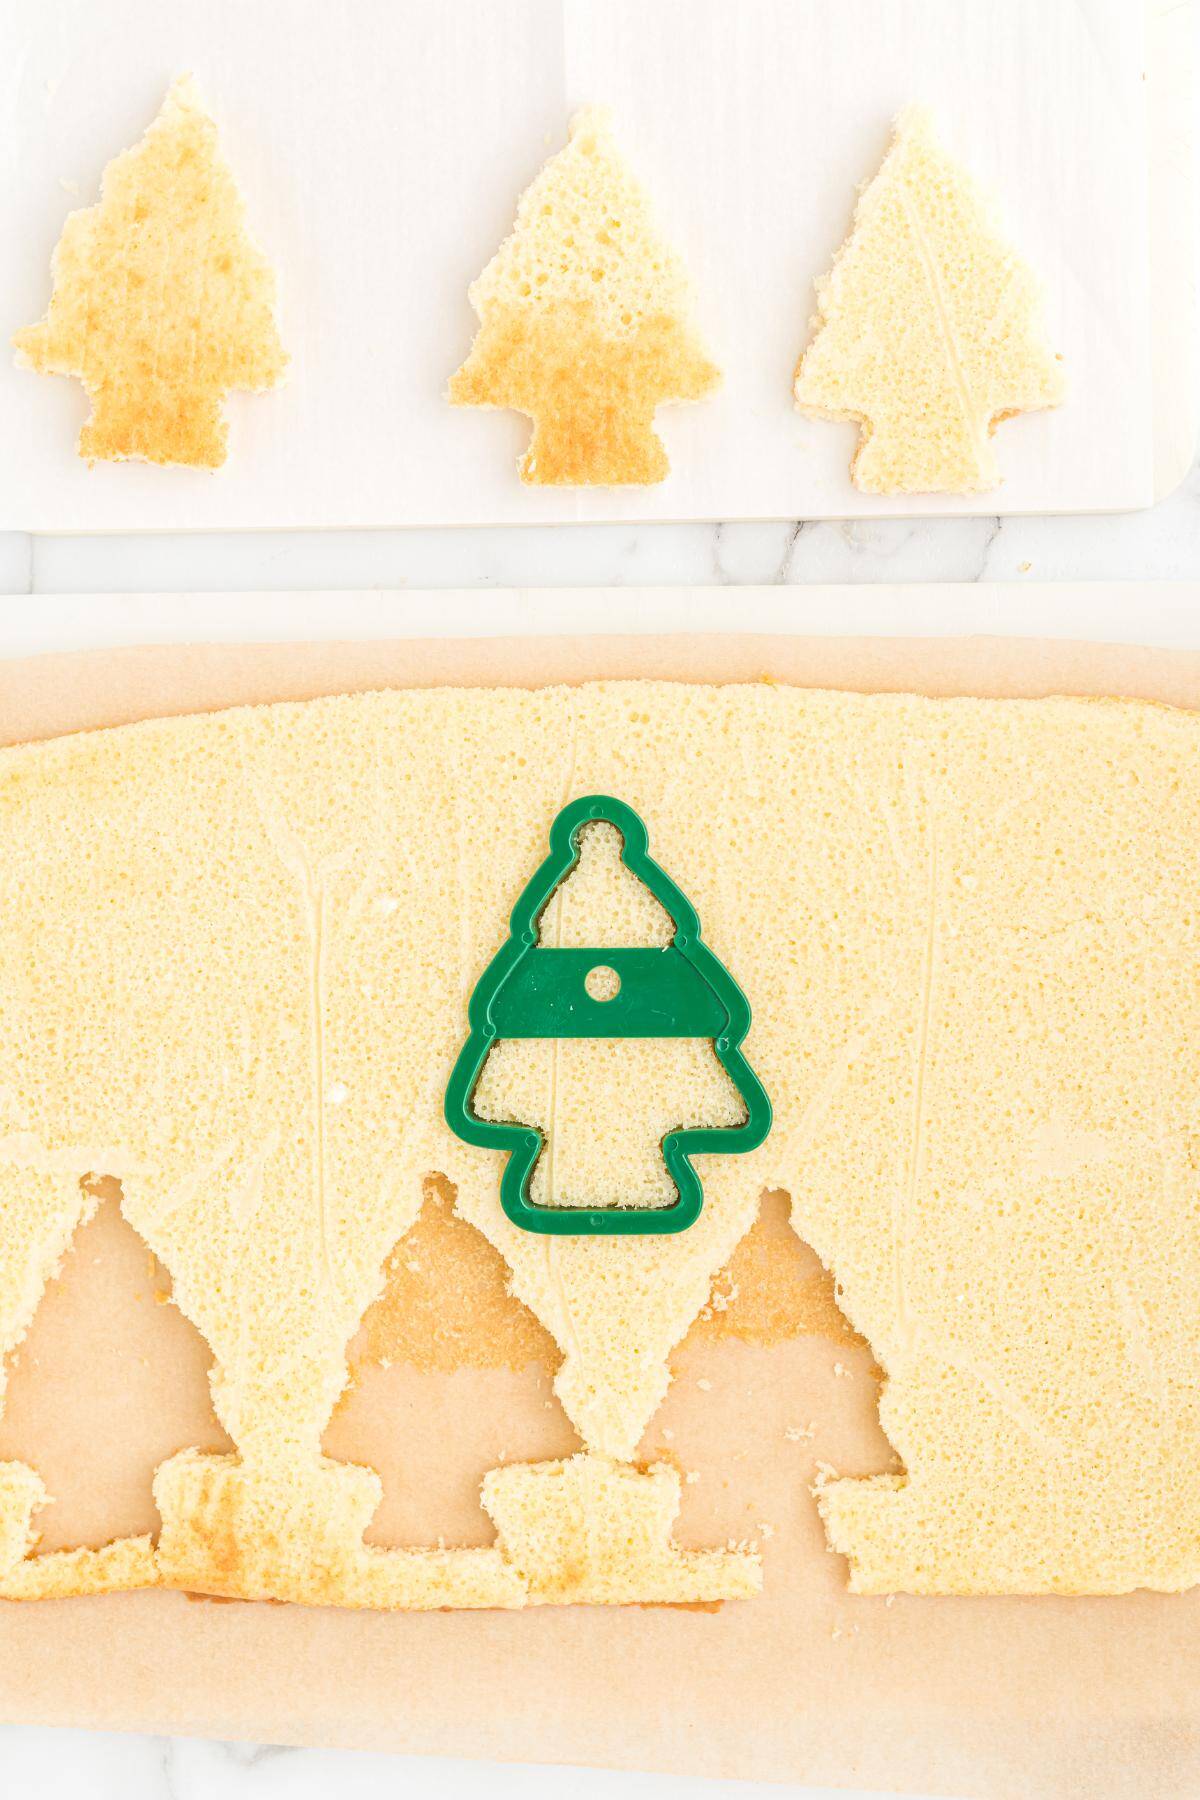
Use your cookie cutter to punch out as many tree shapes as possible for layering.
3. Mix the ingredients for the Swiss buttercream
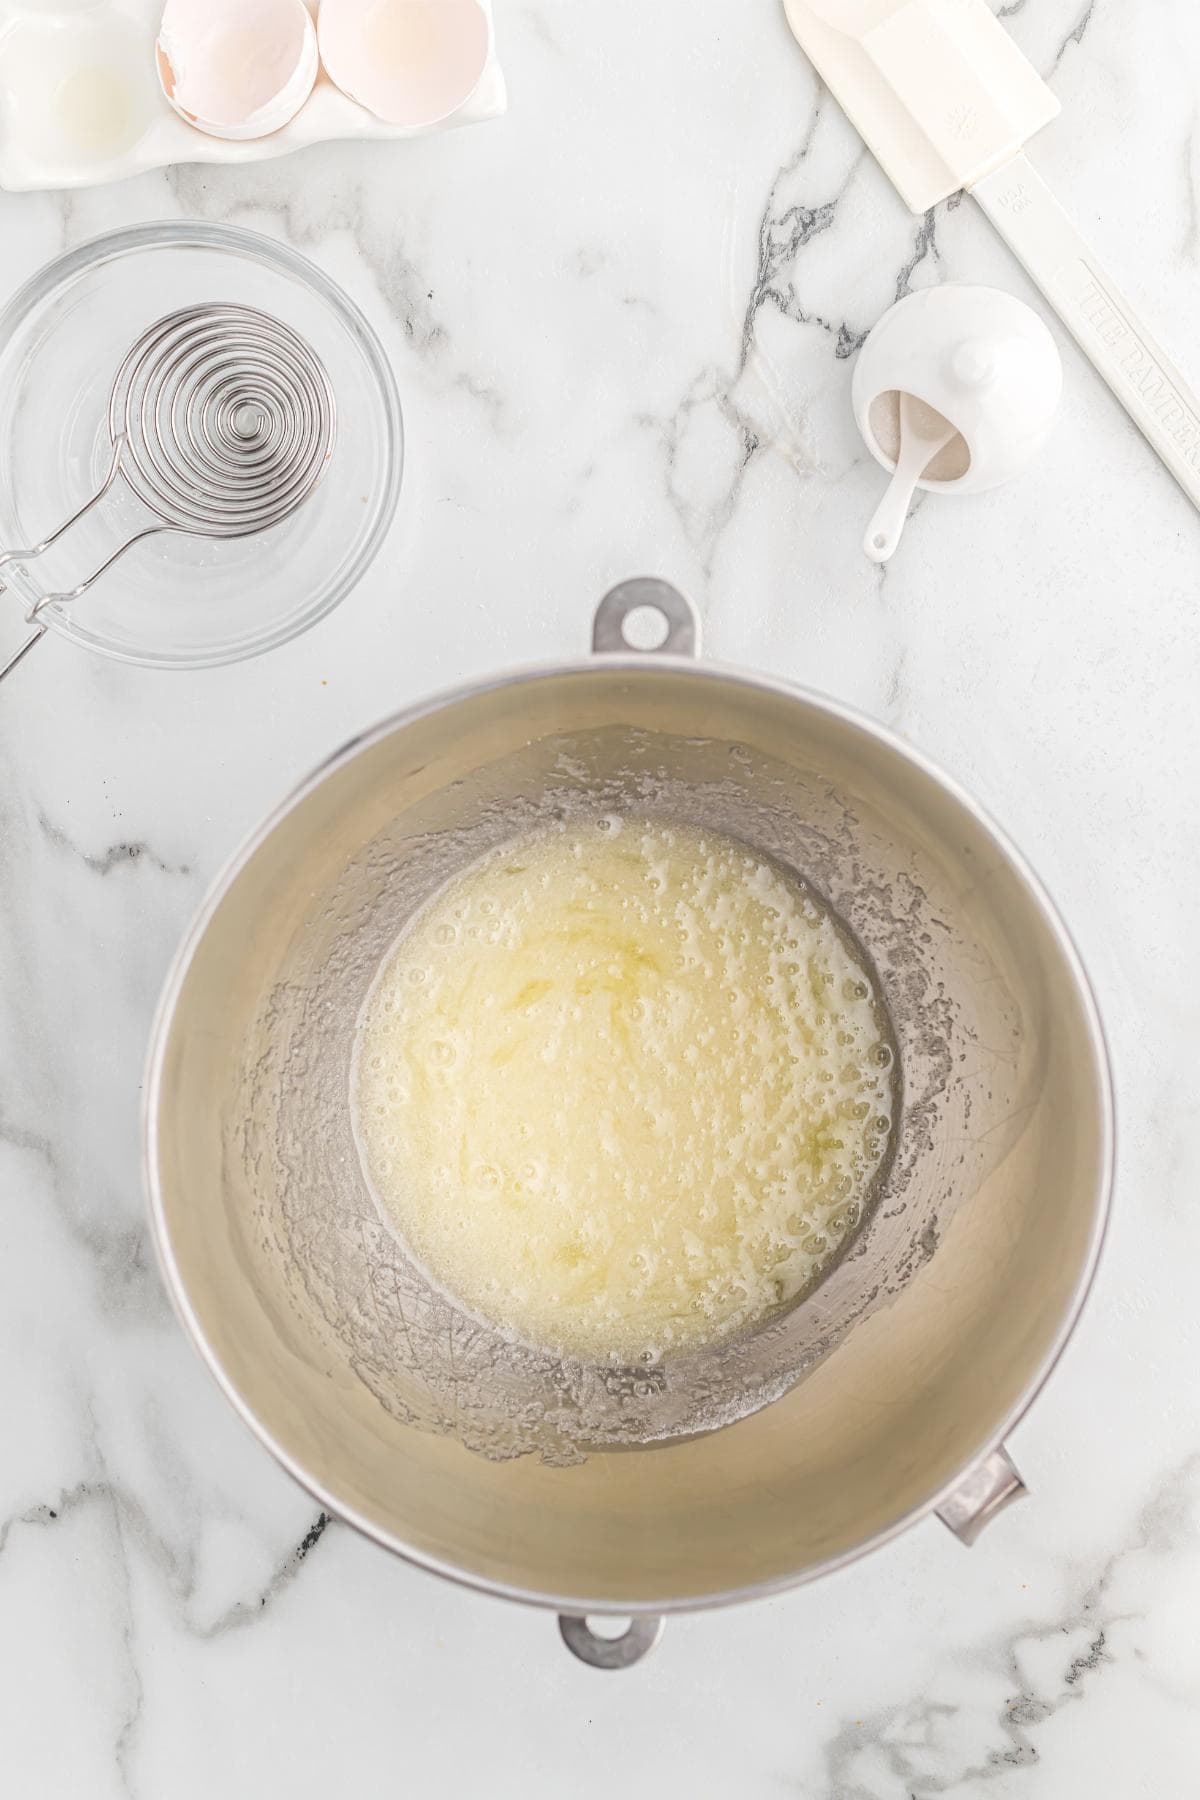
Gently heat egg whites, sugar, and salt over simmering water until the sugar dissolves.
4. Whip the meringue to stiff peaks
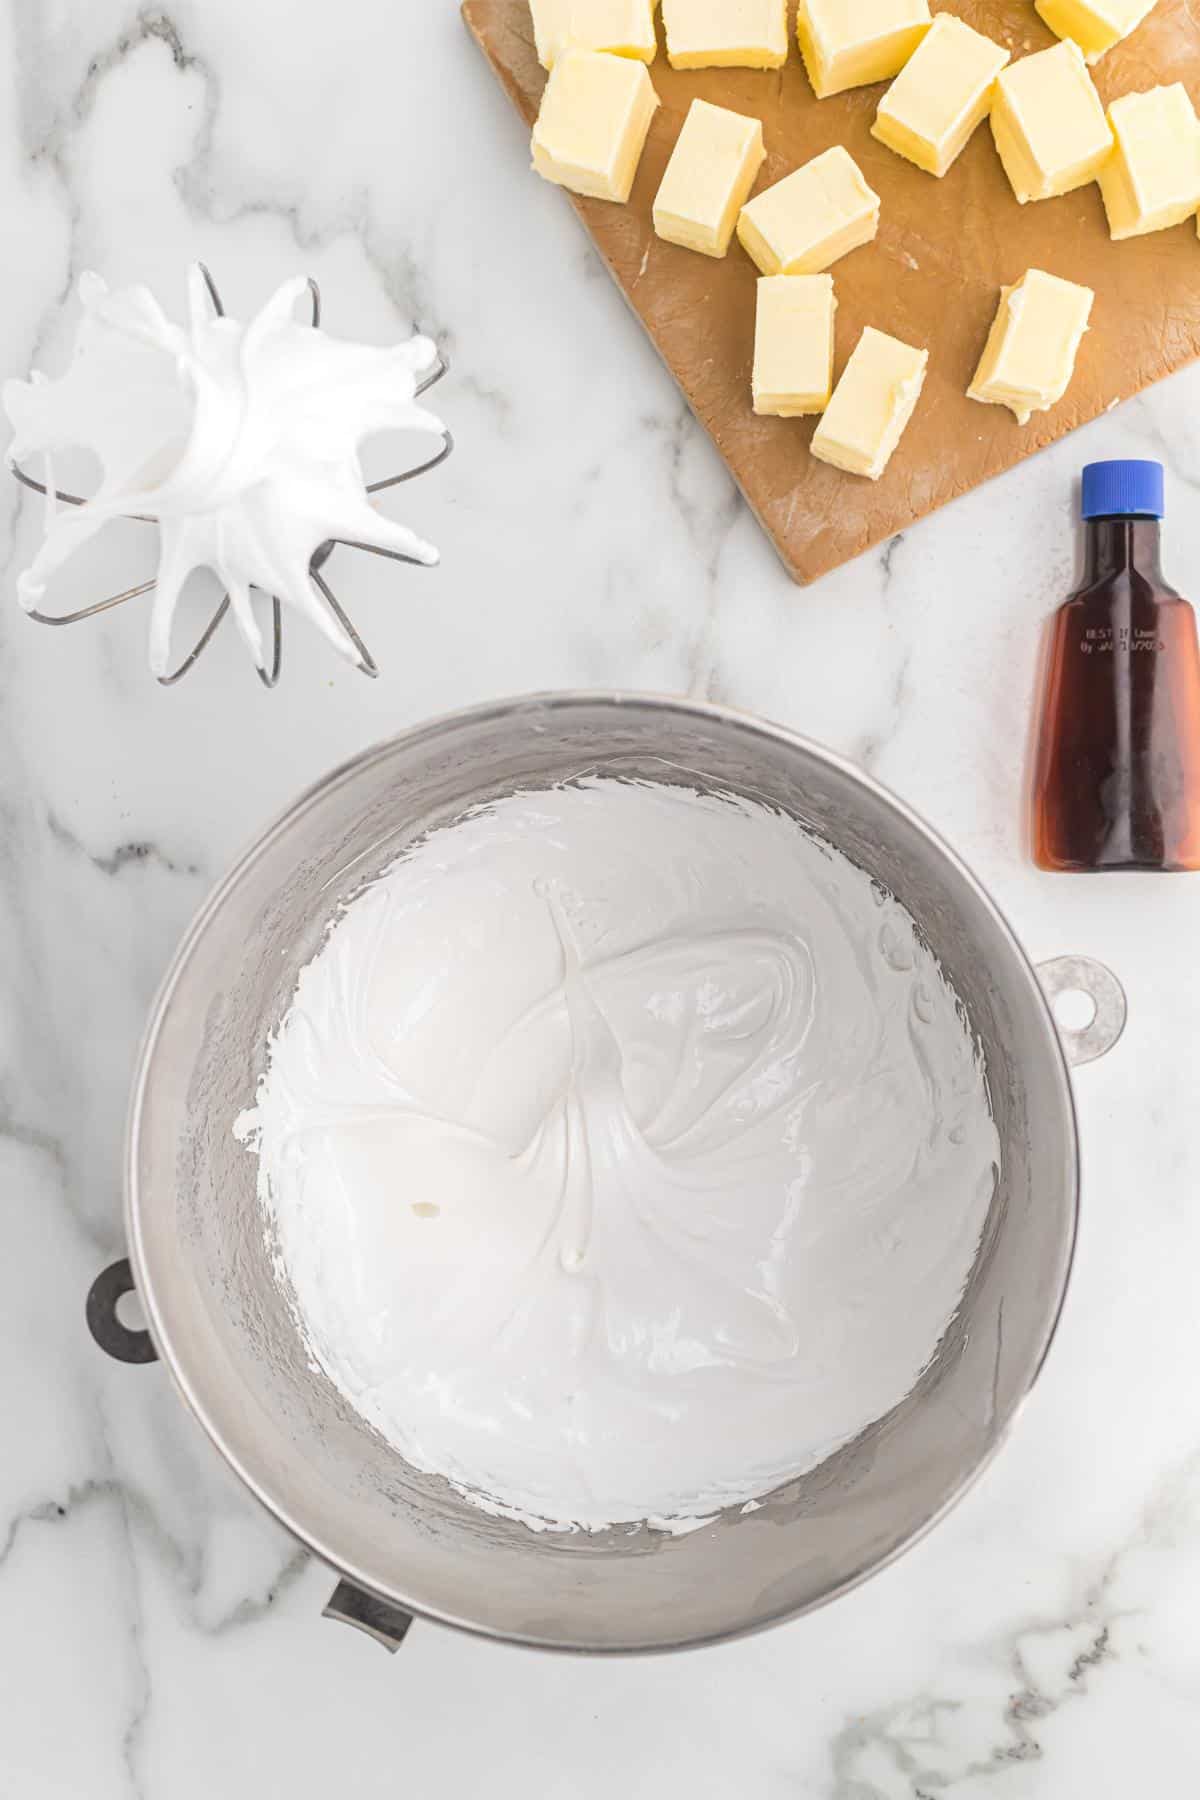
It needs to be thick, shiny, and cool.
5. Beat in butter and vanilla
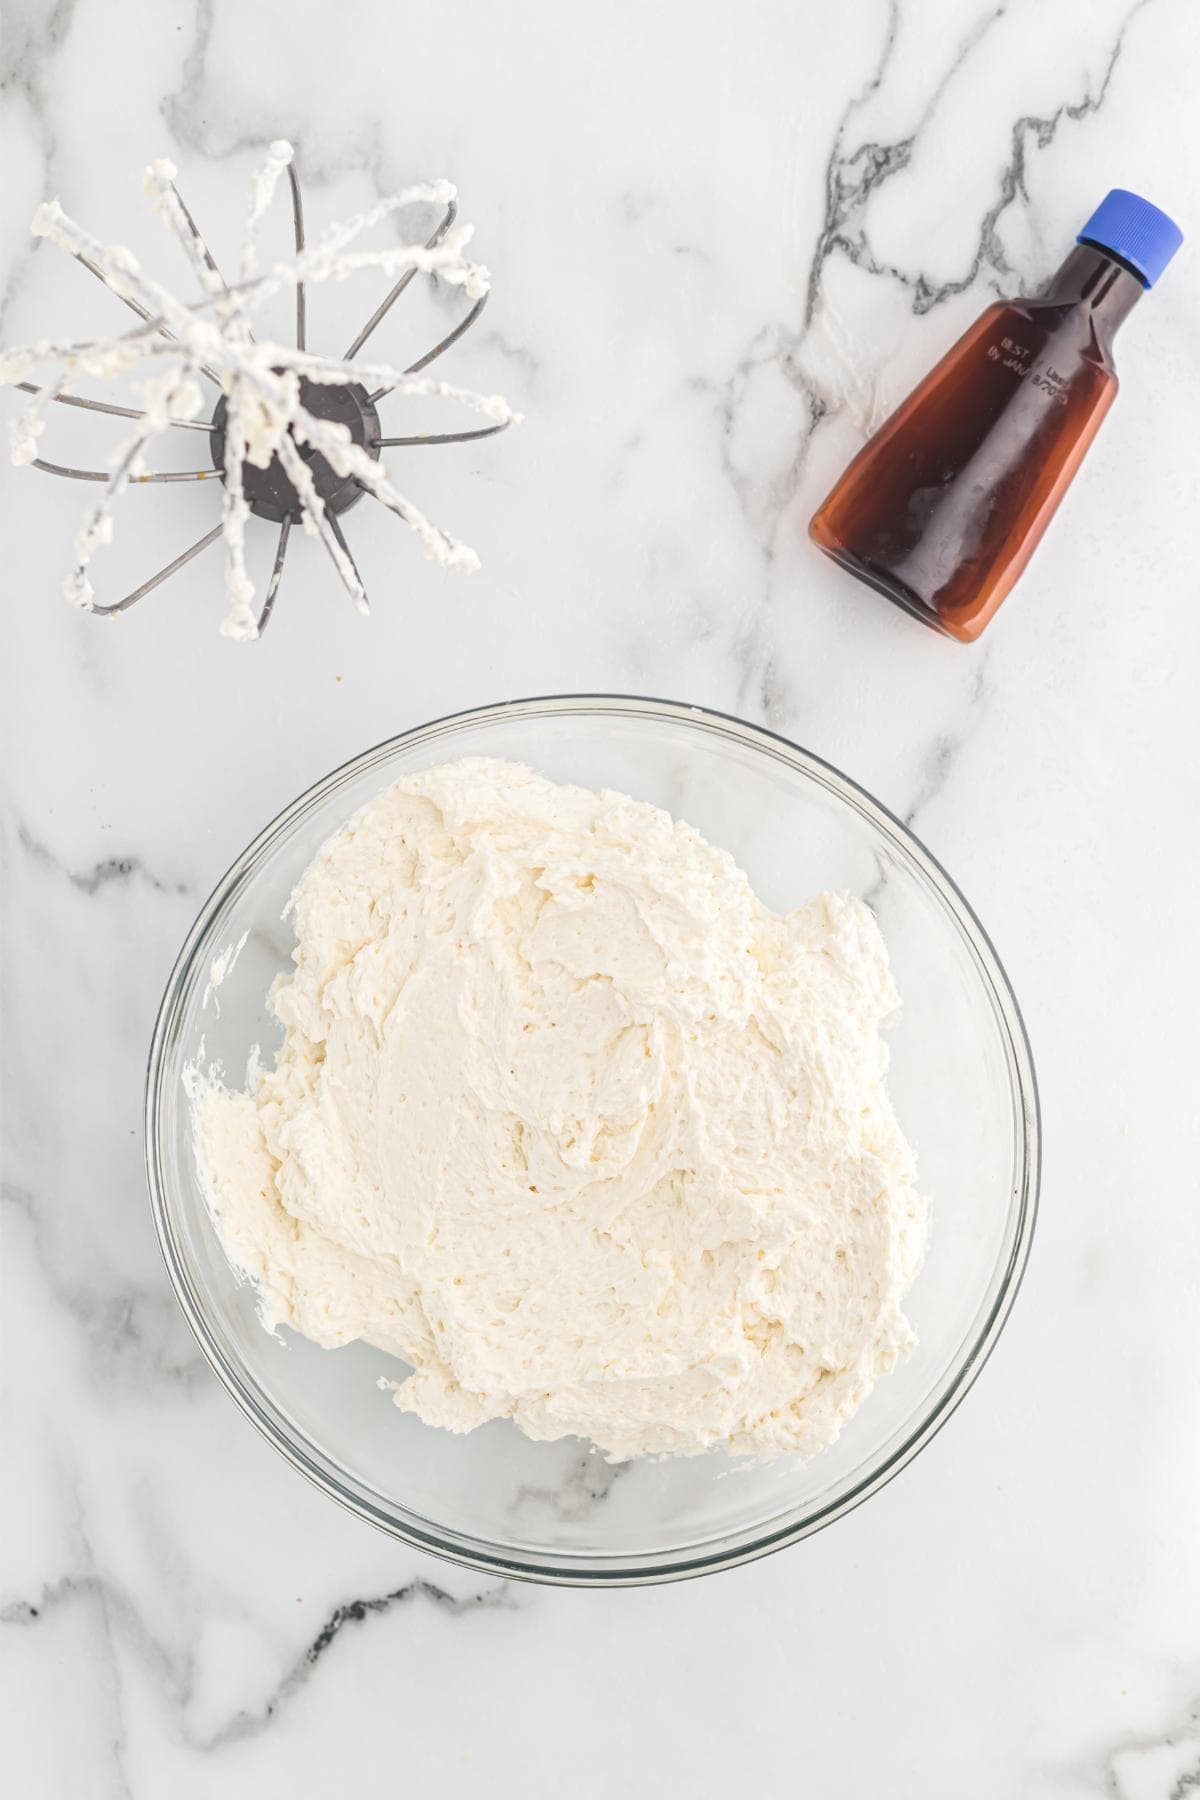
Add the butter a little at a time, then mix in vanilla extract until the frosting is smooth and silky.
6. Assemble the cakes
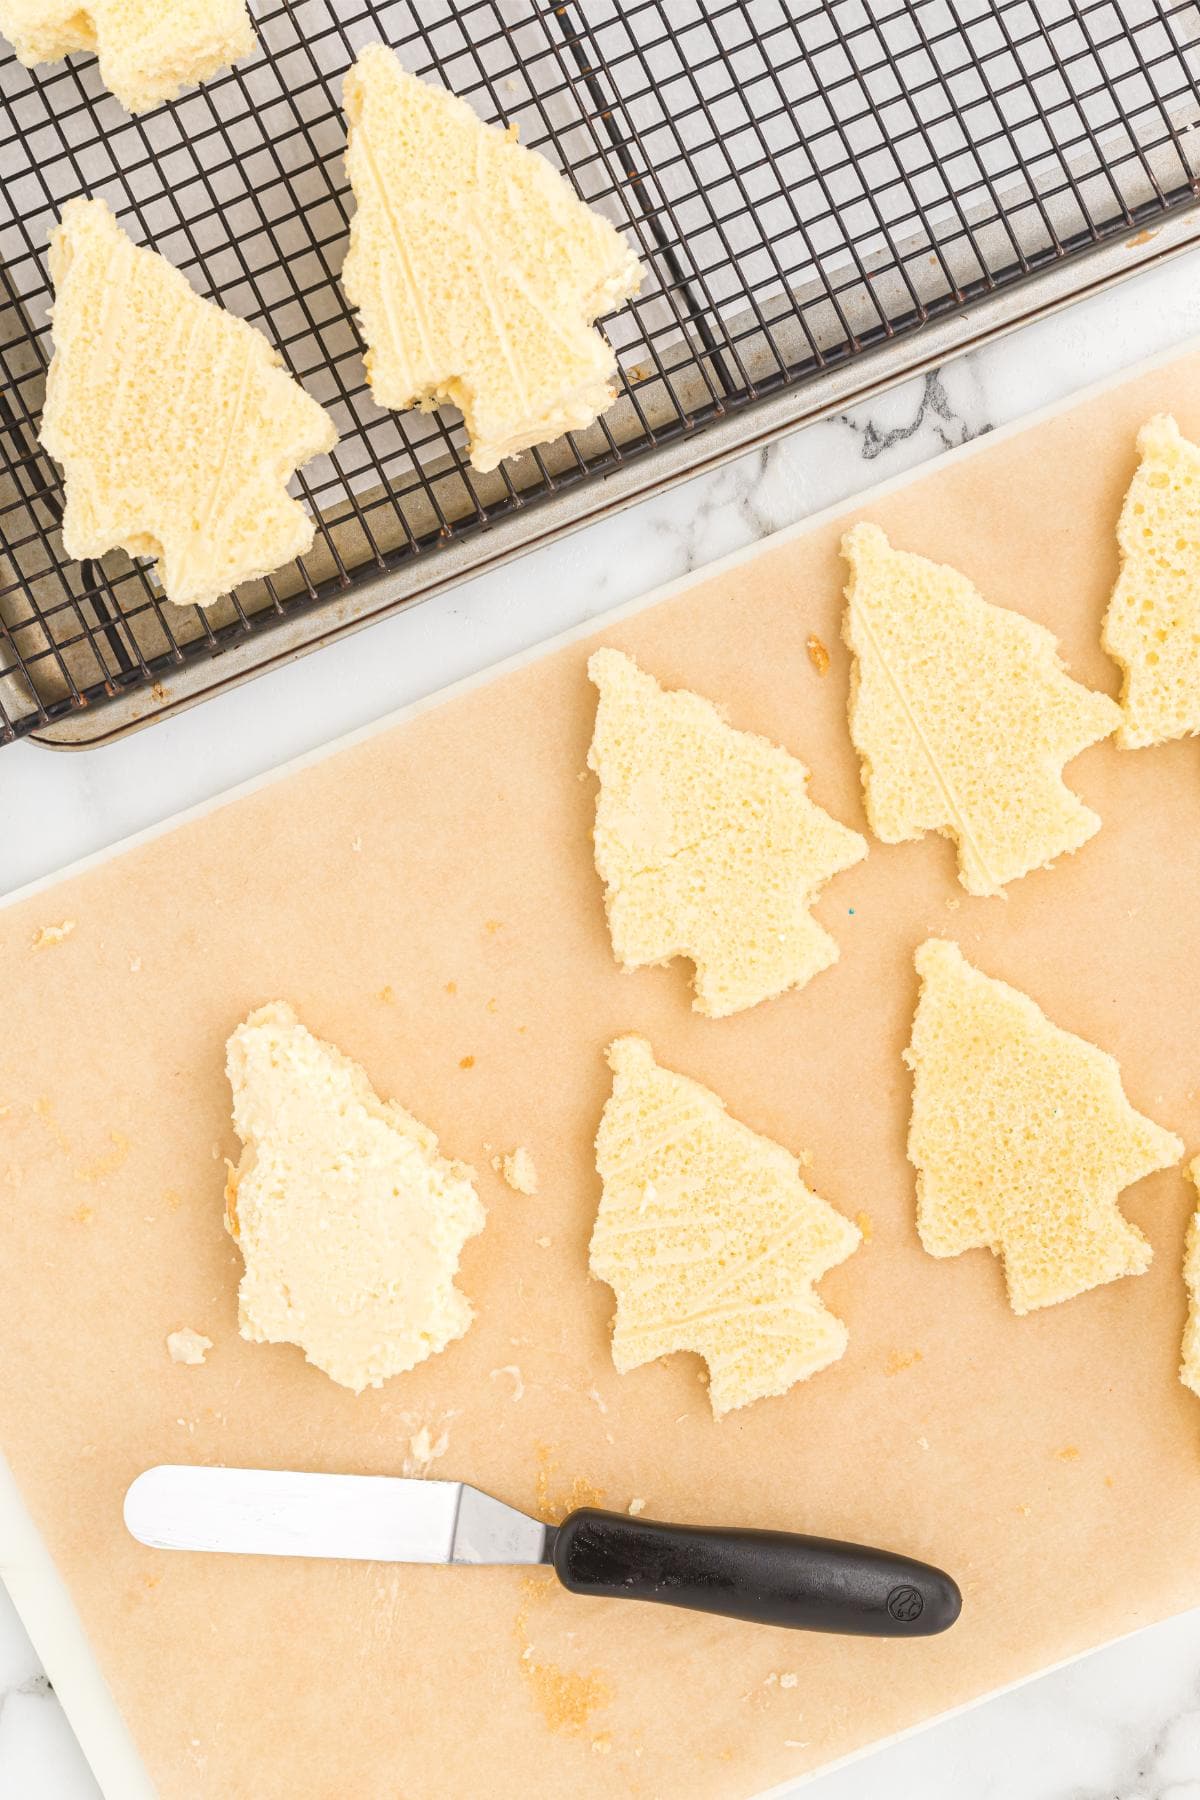
Arrange tree cutouts on parchment and use an offset spatula to fill them with buttercream and stack them into sandwiches.
7. Decorate your Little Debbie Christmas tree cakes
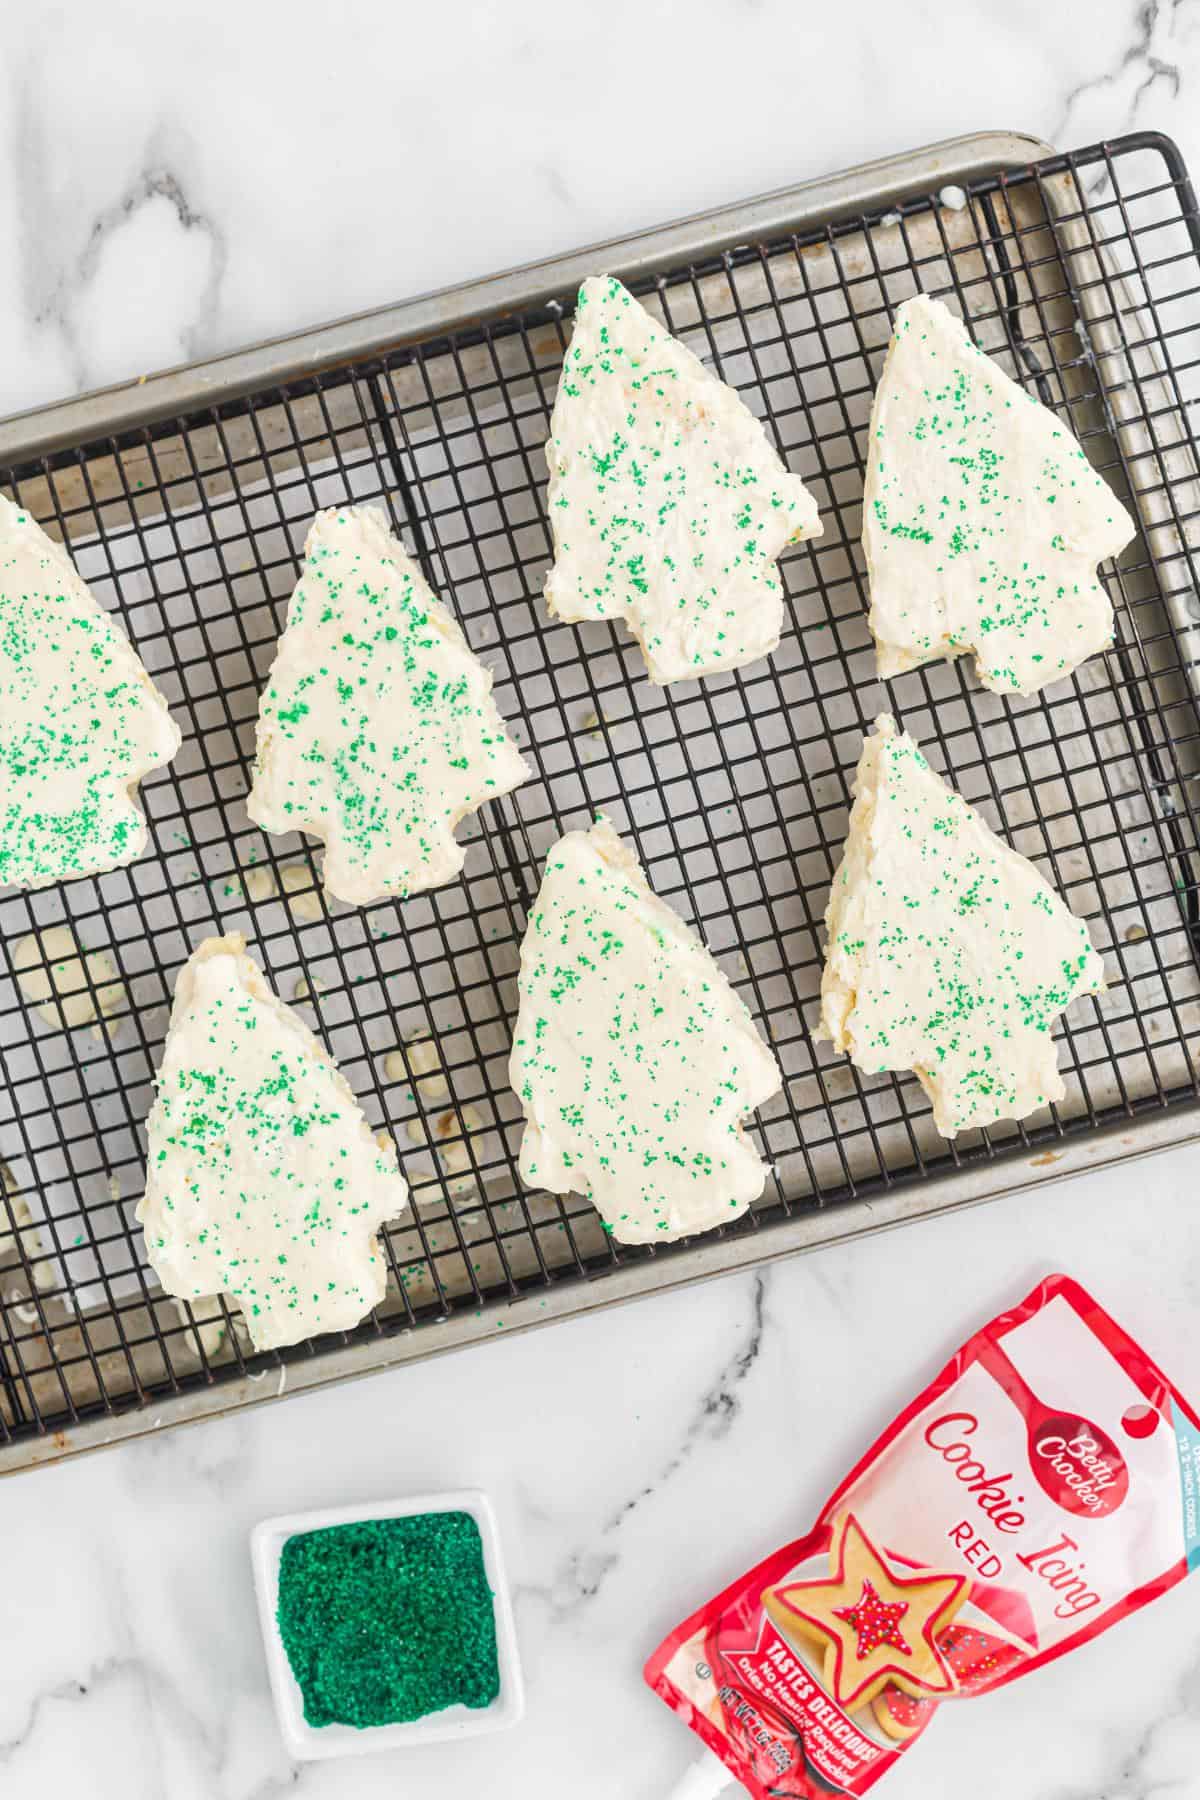
Melt the white vanilla wafers, coat the trees, and sprinkle with green sanding sugar. Finish your homemade snack cakes with red icing garlands, and enjoy!
PRO TIP: When I don’t have red cookie icing, I just set aside some of the Swiss meringue filling and dye it red.
Full Little Debbie Christmas Tree Cakes Recipe
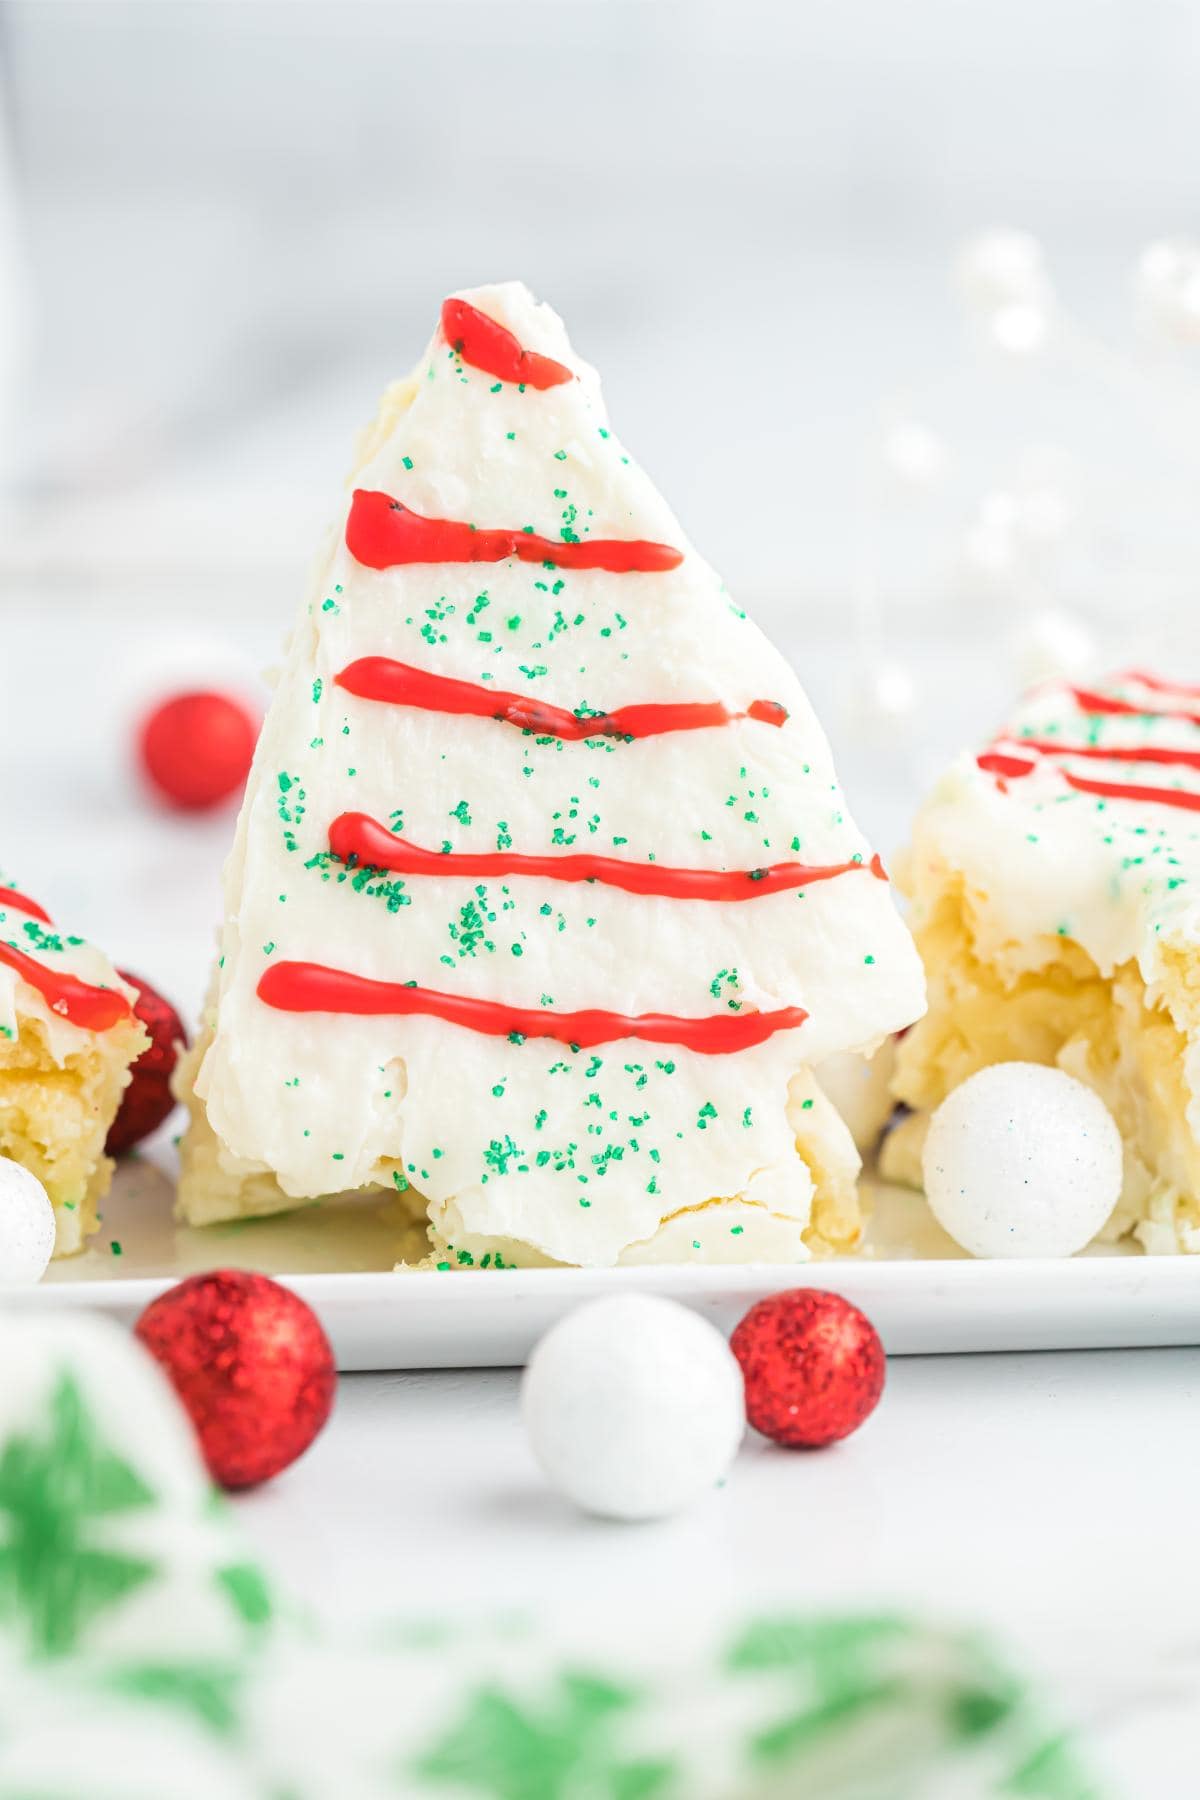
Homemade Little Debbie Christmas Tree Cakes Recipe
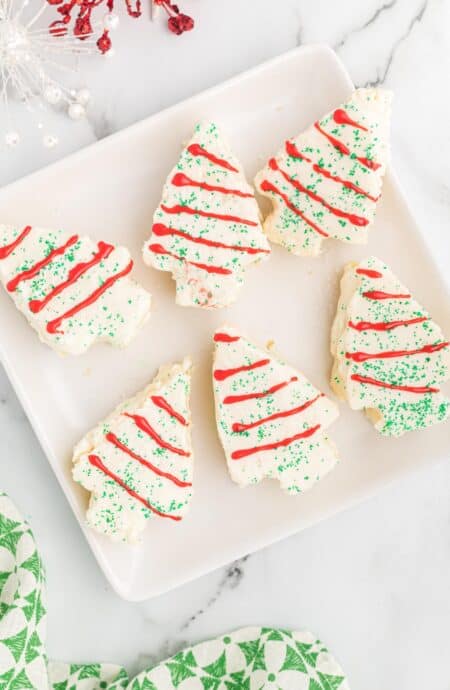
These homemade Little Debbie Christmas Tree Cakes have a sweet meringue sandwiched between two layers of white cake then topped with tasty chocolate, sprinkles, and icing.
For the Swiss Buttercream Filling
For the White Chocolate Coating and Decorations
Cook ModePrevent your screen from going dark
For the Cake
Preheat the oven to 350 degrees. Grease a large rimmed baking sheet with non-stick spray and line it with parchment paper.
Prepare the cake batter according to the box’s baking instructions and pour it into the prepared pan. Use a spatula to smooth over the top and even out the batter as much as possible.
Bake for 15-20 minutes, or until a toothpick inserted in the center comes back clean.
Allow the cake to cool for 5 minutes in the pan. Use a butter knife or offset spatula to release the edges, then flip the cake onto a wire rack to cool completely. Be sure to carefully remove the layer of parchment paper.
While you wait for the cake to cool, prepare the Swiss Meringue Buttercream.
Once cool, use a 3-4” (will depend on how large you’d like your cakes to be) Christmas tree cookie cutter to gently cut out as many trees from the cake as possible. Keep in mind you’ll need two of the cut outs per cake.
For the Swiss Meringue Buttercream Filling
Put an inch of water in a medium saucepan and bring to a gentle boil. In the bowl of your stand mixer, stir egg whites, sugar and salt until combined.
Place a mixing bowl over the saucepan but be careful not to let the water touch the bottom of the mixing bowl. Stir with a spatula until the sugar dissolves and reaches a temp of 160 F, about 5 minutes. While you stir, scrap the sides of the bowl to ensure no sugar grains are lurking on the sides.
Remove mixing bowl from heat and add to a stand mixer with whisk attachment. Whisk on medium high speed until stiff peaks form. They will be glossy. This can take up to 10 minutes. The bowl will continue to cool down in the process as well.
Reduce the speed to low and add 1 to 2 tablespoons of butter at a time making sure to mix in thoroughly after each addition. When butter is incorporated, add vanilla extract and beat on low until incorporated then frost or refrigerate until ready to frost.
To Assemble
Set a wire rack over a rimmind baking sheet. Spread about 2-3 tablespoons of buttercream on 8 of the cut out trees, then top with remaining 8 trees to create 8 cake sandwiches. Place sandwiches on the wire rack.
Melt the candy wafers according to package instructions. If you’d like a shinier look or the wafers need a little help smoothing out, add a tablespoon or two of coconut oil.
Pour the melted chocolate coating evenly over the cakes, recollecting excess coating and redistributing if necessary.
Sprinkle each cake with green sanding sprinkles, then place them in the refrigerator to chill for 30 minutes.
Remove the cakes from the fridge and drizzle the red decorating icing over the tops to create a garland pattern.
Let the cakes set at room temperature for an hour, then serve! Store cakes in an airtight container for up to 5 days.
How to Store
Room Temp: Keep your Christmas snack cakes in an airtight container for up to 5 days. If your kitchen runs warm, they’re happier in the fridge.
Fridge: Store them in a covered container for up to a week. Let them sit out for a few minutes before serving so the coating softens.
Freezer: Wrap each cake in plastic wrap, then foil, and freeze for up to 2 months. Thaw in the fridge overnight and enjoy.
Tip: Wrap the cakes individually if you’re sharing with the fam or taking them to a holiday party. It keeps them fresh and makes sharing easy!
Serving: 1g | Calories: 412kcal | Carbohydrates: 25g | Protein: 2g | Fat: 35g | Saturated Fat: 22g | Polyunsaturated Fat: 1g | Monounsaturated Fat: 9g | Trans Fat: 1g | Cholesterol: 92mg | Sodium: 105mg | Potassium: 39mg | Sugar: 25g | Vitamin A: 1064IU | Calcium: 12mg | Iron: 0.04mg
Recipe Tips
Keep that mixing bowl squeaky clean, boos! Even a tiny bit of egg yolk will keep your Swiss buttercream from whipping up.
Bake the cake on a large sheet pan. That’s how you get that thin, classic Little Debbie-style layer.
Freeze the frosted tree cutouts for up to 2 hours. Helps the cakes stay firm and hold their shape while you coat them with the white vanilla coating.
Add the green sprinkles and red icing right after the white coating. They will stick way better to your Christmas tree snack cakes before the chocolate sets.