
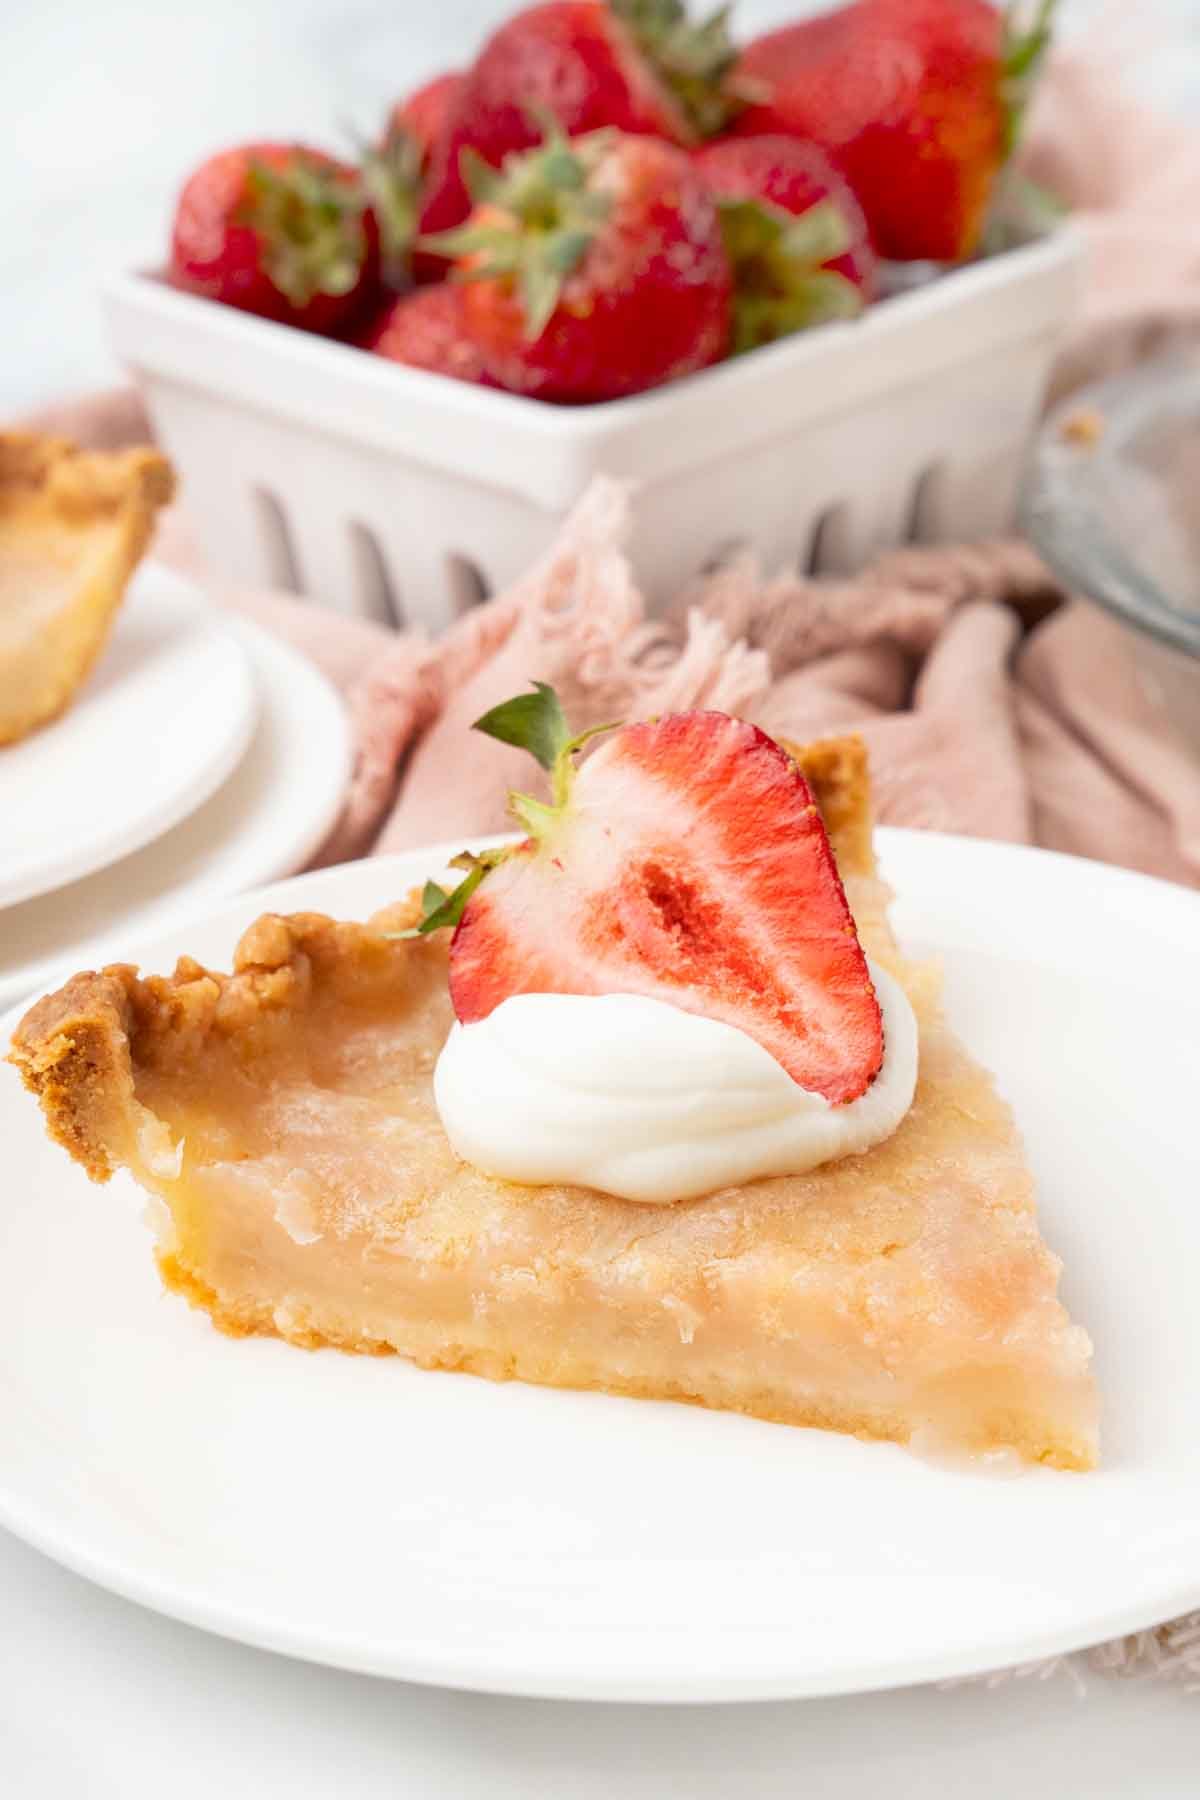
Water Pie is a classic Depression-era dessert that proves creativity can shine even in the most challenging times. Made with pantry staples: sugar, flour, butter, and water, it bakes up into a surprisingly sweet, custard-like pie with a crackly top.
If you love vintage recipes, this one is definitely worth adding to your collection.

The original recipe for Water Pie began appearing in old community cookbooks as early as the late 1800s, long before the stock market crash. However, it really earned its name during the Great Depression, when people had to get creative with what little they had in their pantry.
What gets me every time is how this pie feels like a quiet little triumph. The flavor falls somewhere between a buttery chess pie and a vanilla pudding, with just the slightest hint of apple pie-like taste from the baked flour and sugar.
Somehow this “hard times pie” still manages to taste like a treat, and that’s the kind of kitchen magic I can get behind.

It’s just water, sugar, and a few other basic ingredients, but it sets up into something sweet and custardy with a flaky crust.
While it may not be as rich as cream pies or custard pies, Water Pie has a nostalgic charm that connects us to a simpler era of home baking.
If you’re into old-school sweet pies, our Buttermilk Pie has a tangy, creamy bite that’s full of Southern charm.
And if you’re after something smooth and simple, our Old Fashioned Egg Custard Pie is as classic as it gets, and just as easy to love.
Table of Contents:
View more
Ingredients

Gather the ingredients to prepare our Water Pie recipe. Culinary professionals call this the “Mise en Place,” which means “everything in its Place.”
Setting up your ingredients not only helps speed up the cooking process but also ensures you have all the necessary ingredients on hand to make the recipe.
Can I Make Adjustments to the Recipe?
Absolutely. We created this retro recipe with vanilla extract, but you can swap it out for maple or almond extracts to tweak the Water Pie’s flavor profile. It plays well with flavored extracts and creative add-ins, so feel free to experiment with a few different flavors and see what works best.
You can skip the homemade pie crusts and use an unbaked store-bought pie crust to save time; it bakes up just as well.
Want to go fruity? Add a thin layer of apple pie filling or a spoonful of fresh fruit before baking, just enough to tuck under the pats of butter.
Recipe Variations
Creamier Version: Replace part of the water with milk or heavy cream for a richer flavor.
Cinnamon Water Pie: Add a pinch of cinnamon or nutmeg for a warm flavor.
Lemon Water Pie: Stir in a little lemon juice or zest for brightness.
How to make Water Pie
Follow along with my simple step-by-step instructions to learn how to make water pie in your home kitchen.
Preheat oven to 400 degrees F.

Add the flour, granulated sugar, baking powder, and salt to the bowl of a food processor.
Pulse three times to combine.
Add the very cold butter pieces to the bowl.
Pulse at one-second intervals until the butter is mixed in.
Add the egg to the bowl.
Pulse until the dough forms a ball on the blade of the processor.
Turn the dough out of the food processor onto a floured surface, and carefully remove the blade.

Flatten the dough into a disc. Wrap it with plastic wrap and chill for 15-20 minutes.
Transfer the dough to a lightly floured, clean work surface. Use a rolling pin to roll the pie dough into a circle that is 2 to 3 inches wider than the diameter of the pie dish.
Carefully transfer the pie crust to a 9-inch pie plate.
Trim and crimp edges for a decorative finish.
Place the empty unbaked pie crust on a baking sheet. Pour 1 ½ cups of water into the pie crust.
Add the all-purpose flour and granulated sugar to a small bowl.

Whisk the dry filling ingredients to combine thoroughly,
Sprinkle this mixture evenly over the water in the crust. Do not stir.
Drizzle the vanilla over the water in the unbaked pie shell.
Place the thin slices of butter on the top of the mixture.
Place the pan on the center rack of the preheated oven and bake for 30 minutes. Reduce the heat to 375°F and continue baking for an additional 30 minutes.
Place the pan on a wire rack to cool completely to room temperature.
Then, place it in the refrigerator for 4 hours to finish setting and chilling.
*The pie will be watery when you pull it out of the oven, but as it cools, it will thicken.
Use real butter for the richest flavor.
Don’t rush the chilling process. It needs at least 4 hours to set up. Overnight is best.

This old-fashioned pie is perfect for any night you crave something sweet and simple, but would also make a nice addition to your holiday table or a family dinner.
They may laugh at the name, but after that first bite, they’ll be quietly helping themselves to a second slice!
Dust with powdered sugar before serving.
Pair with fresh berries for contrast.
Add a dollop of whipped cream to dress it up.
How to Store Water Pie
Store any leftover Water Pie in the refrigerator, covered tightly with plastic wrap or placed in an airtight container. It’ll keep well for up to 4 days, and the texture actually improves a bit as it chills.
Freezing isn’t recommended, since the gelatinous texture doesn’t hold up well once thawed.
Recipe FAQs
It’s closer to a soft custard. It may look a little watery when it comes out of the oven, but once it chills in the fridge, it sets up perfectly. Smooth, sliceable, and not too jiggly.
You can, but I wouldn’t recommend it. The crust gives it structure and adds that buttery bite on the bottom. Without it, it still works, but it feels more like a scoop dessert than an actual pie.
Yes, you can reduce the sugar a bit. Just don’t go too far, or you’ll lose that classic sweet pie flavor. I’ve used slightly less before, and it still turned out great.
More Recipes You’ll Love!

Water Pie Recipe
Water Pie is a Depression-era classic made with pantry staples like water, sugar, and butter, baked into a sweet custard-style pie.
Ingredients
.5x1x2x
Pie Crust
1 cup all-purpose flour3 tablespoon granulated sugar¼ teaspoon baking powder¼ teaspoon table salt4 tablespoon unsalted butter -½ stick cut into small pieces kept very cold1 large egg
Pie Filling
1 ½ cups water4 tablespoons all-purpose flour1 cup granulated sugar2 teaspoons vanilla extract5 tablespoons butter -cut into 5 pieces
Instructions
Pie Crust
Add the flour, granulated sugar, baking powder, and salt to the bowl of a food processor and pulse three times to combine.
Add the very cold butter pieces and pulse at one-second intervals until the butter is mixed in.
Add the egg and pulse until the dough forms a ball on the blade of the processor.
Turn the dough out of the food processor onto a floured surface, and carefully remove the blade.
Flatten the dough into a disc. Wrap it with plastic wrap and chill for 15-20 minutes.
Transfer the dough to a lightly floured, clean work surface.
Use a rolling pin to roll the pie dough into a circle that is 2 to 3 inches wider than the pie pan.
Carefully transfer the pie crust to a 9-inch pie plate. Trim and crimp edges for a decorative finish.
Pie Filling
Preheat oven to 400 degrees F.
Place the empty pie crust on a baking sheet.
Pour 1 ½ cups water into the pie crust.
Add the all-purpose flour and granulated sugar to a small bowl. Whisk to combine.
Sprinkle this mixture evenly over the water in the crust. Do not stir.
Drizzle the vanilla over the water in the pie crust.
Place the pats of butter on the top of the mixture.
Place the pan on the center rack of the preheated oven and bake for 30 minutes.
Reduce heat to 375 degrees F and cover sides of crust with aluminum foil if they are getting too dark.
Continue cooking for an additional 30 minutes.
The pie will be watery when you pull it out of the oven but as it cools, it will thicken.
Place the pan on a wire rack to cool completely. Then place it in the refrigerator for 4 hours to finish setting up and chill.
Serve with strawberries and whipped cream.
Notes
Absolutely. We created this retro recipe with vanilla extract, but you can swap it out for maple or almond extracts to tweak the Water Pie’s flavor profile. It plays well with flavored extracts and creative add-ins, so feel free to experiment with a few different flavors and see what works best.
You can skip the homemade pie crusts and use an unbaked store-bought pie crust to save time; it bakes up just as well.
Want to go fruity? Add a thin layer of apple pie filling or a spoonful of fresh fruit before baking, just enough to tuck under the pats of butter.
Recipe Variations
Creamier Version: Replace part of the water with milk or heavy cream for a richer flavor.
Cinnamon Water Pie: Add a pinch of cinnamon or nutmeg for a warm flavor.
Lemon Water Pie: Stir in a little lemon juice or zest for brightness.
Chef Tips
Use real butter for the richest flavor.
Don’t rush the chilling process. It needs at least 4 hours to set up. Overnight is best.
Serving Suggestions
Dust with powdered sugar before serving.
Pair with fresh berries for contrast.
Add a dollop of whipped cream to dress it up.
How to Store Water Pie
Store any leftover Water Pie in the refrigerator, covered tightly with plastic wrap or placed in an airtight container. It’ll keep well for up to 4 days, and the texture actually improves a bit as it chills.
Freezing isn’t recommended, since the gelatinous texture doesn’t hold up well once thawed.
What is the texture like? Is it more like pudding or custard?
It’s closer to a soft custard. It may look a little watery when it comes out of the oven, but once it chills in the fridge, it sets up perfectly. Smooth, sliceable, and not too jiggly.
Can I make it without a crust?
You can, but I wouldn’t recommend it. The crust gives it structure and adds that buttery bite on the bottom. Without it, it still works, but it feels more like a scoop dessert than an actual pie.
Can I reduce the sugar?
Yes, you can reduce the sugar a bit. Just don’t go too far, or you’ll lose that classic sweet pie flavor. I’ve used slightly less before, and it still turned out great.
Nutrition
Calories: 308kcalCarbohydrates: 44gProtein: 3gFat: 14gSaturated Fat: 8gPolyunsaturated Fat: 1gMonounsaturated Fat: 4gTrans Fat: 1gCholesterol: 54mgSodium: 85mgPotassium: 47mgFiber: 1gSugar: 30gVitamin A: 423IUCalcium: 17mgIron: 1mg