
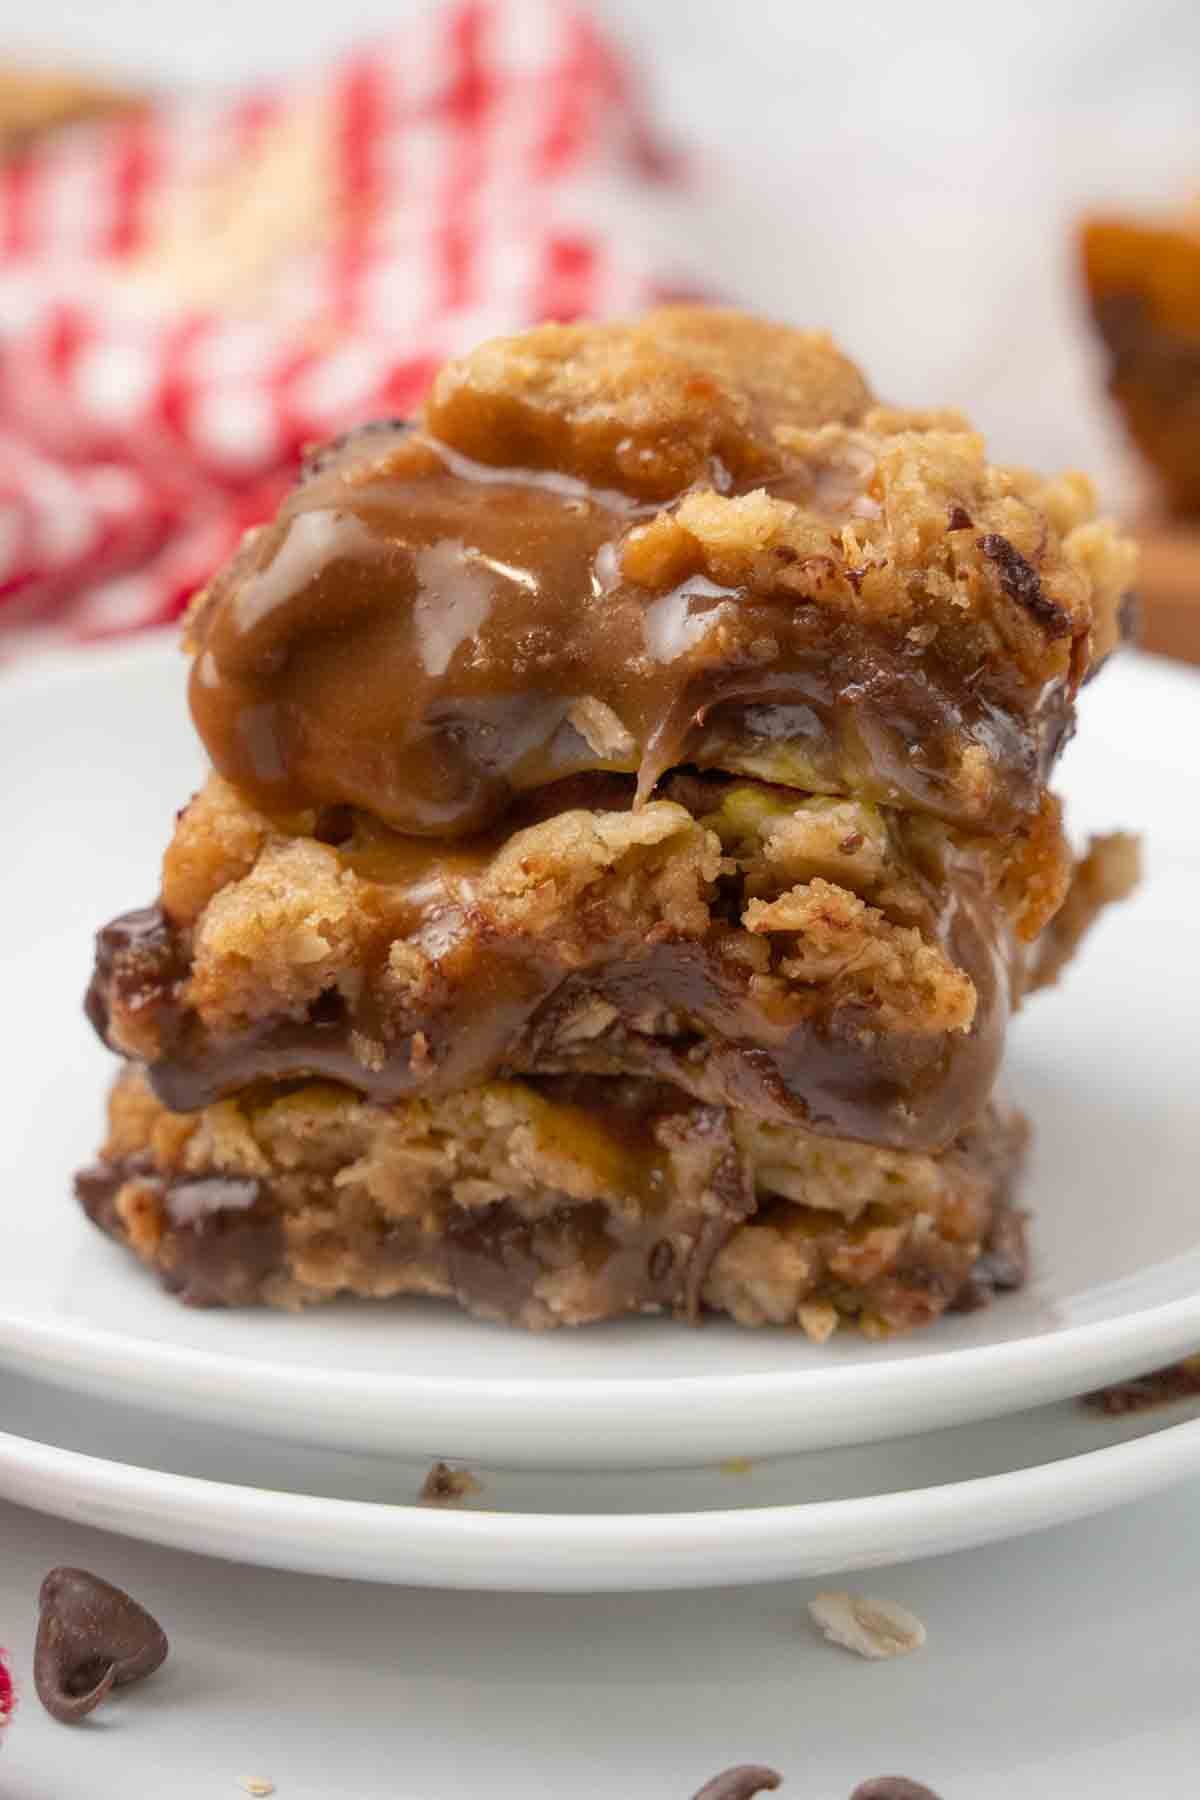
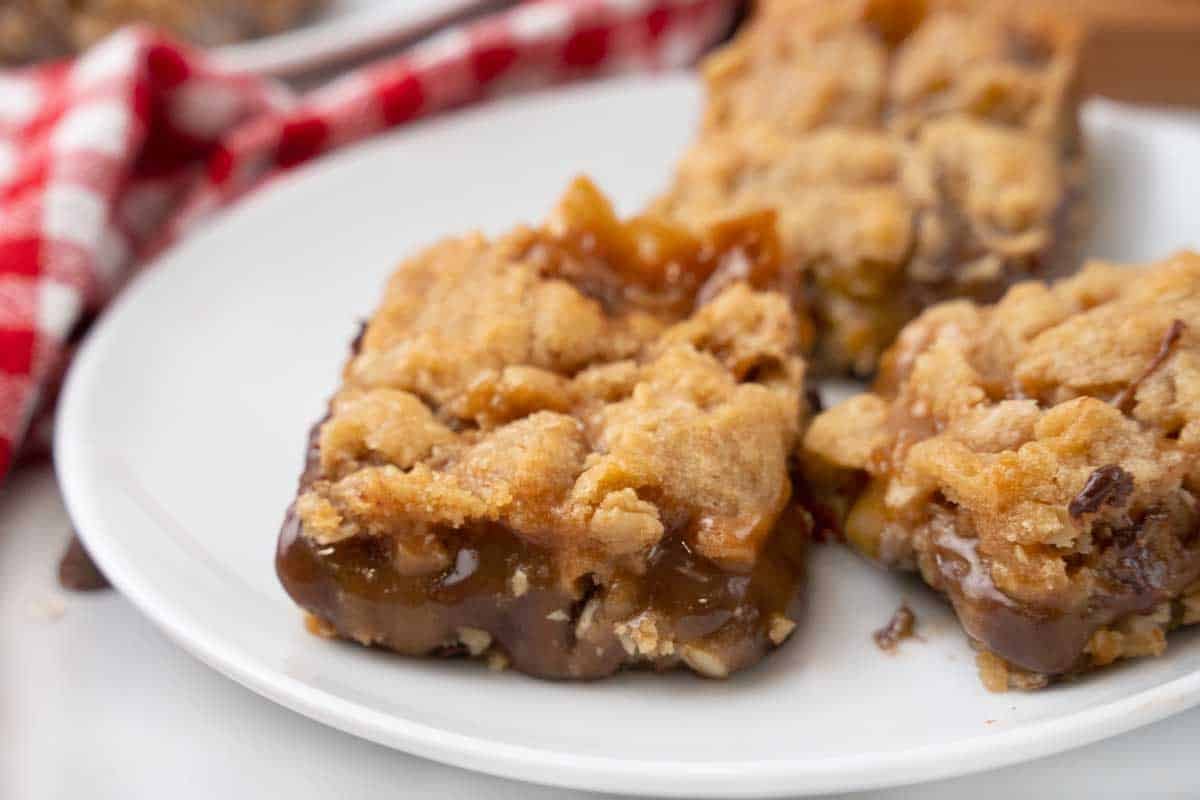
Our Carmelitas are buttery oatmeal caramel bars with rich, gooey caramel, melty chocolate, and a soft, crumbly oat crust. Perfect for holidays, bake sales, or when you want to serve up a treat that disappears faster than you can plate it.
One bite and you’ll understand why people guard the dessert table when these show up.

The first time I had a Carmelita, I knew it was going to be a recipe worth keeping forever. That gooey caramel melting into a layer of chocolate, wrapped in buttery oatmeal crust and crumble… it’s everything I want in a dessert!
Turns out, these beauties first hit the scene in 1967 at the Pillsbury Bake-Off, thanks to Minnesota baker Erlyce Larson. Since then, they’ve been showing up at bake sales, potlucks, and family tables across the country.
And now, they’re a regular in my kitchen because they’ve got that rare mix of comfort, nostalgia, and the wow factor that makes people light up with the first bite.
They’re easy to make with simple ingredients you’ll find at any grocery store.
You can also make them ahead of time, and they still taste like they came straight from the oven.
If you like the layers and texture in these Carmelitas, you’ll love my Apple Pie Bars with their irresistible buttery oat crust and spiced apple filling.
And if caramel is your thing, my Salted Caramel Cheesecake delivers creamy indulgence with a rich caramel swirl and a sprinkle of sea salt.
Table of Contents:
View more
Ingredients
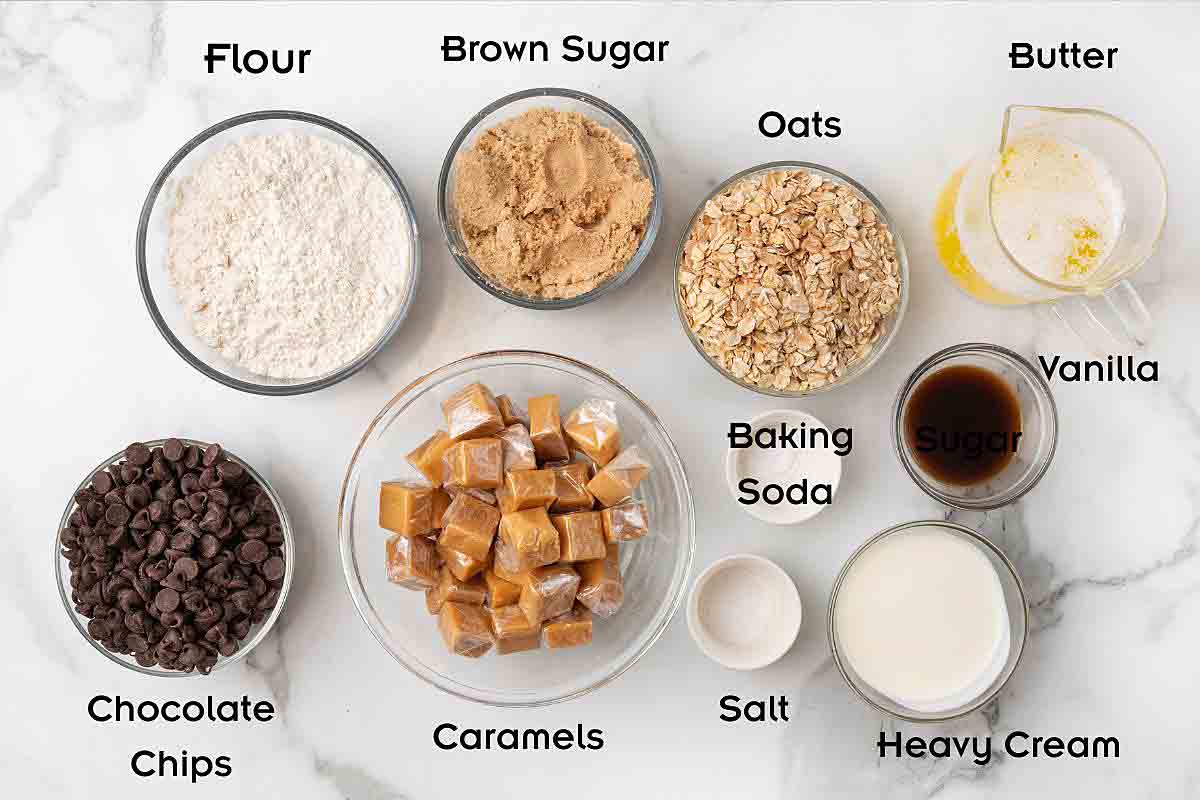
Gather the ingredients to prepare our Carmelitas recipe. Culinary professionals call this the “Mise en Place,” which means “everything in its Place.”
Setting up your ingredients not only helps speed up the cooking process but also ensures you have all the necessary ingredients on hand to make the recipe.
Can I Make Adjustments to the Recipe?
Absolutely. We made our Carmelitas with old-fashioned oats, but you can use quick oats if you prefer a softer texture.
For the caramel layer, replace wrapped caramels with store-bought caramel sauce to save a little time, or try our Homemade Caramel Sauce for a richer flavor.
If you like a bolder chocolate flavor, swap the semi-sweet chocolate chips for dark chocolate, or mix in a few milk chocolate chips for extra sweetness.
How to Make Carmelitas
Follow along with my simple step-by-step instructions to learn how to make Carmelitas in your home kitchen.
Preheat oven to 350 degrees F.
Line an 8×8-inch pan with parchment paper, leaving an overhang on each side to make their removal easier.
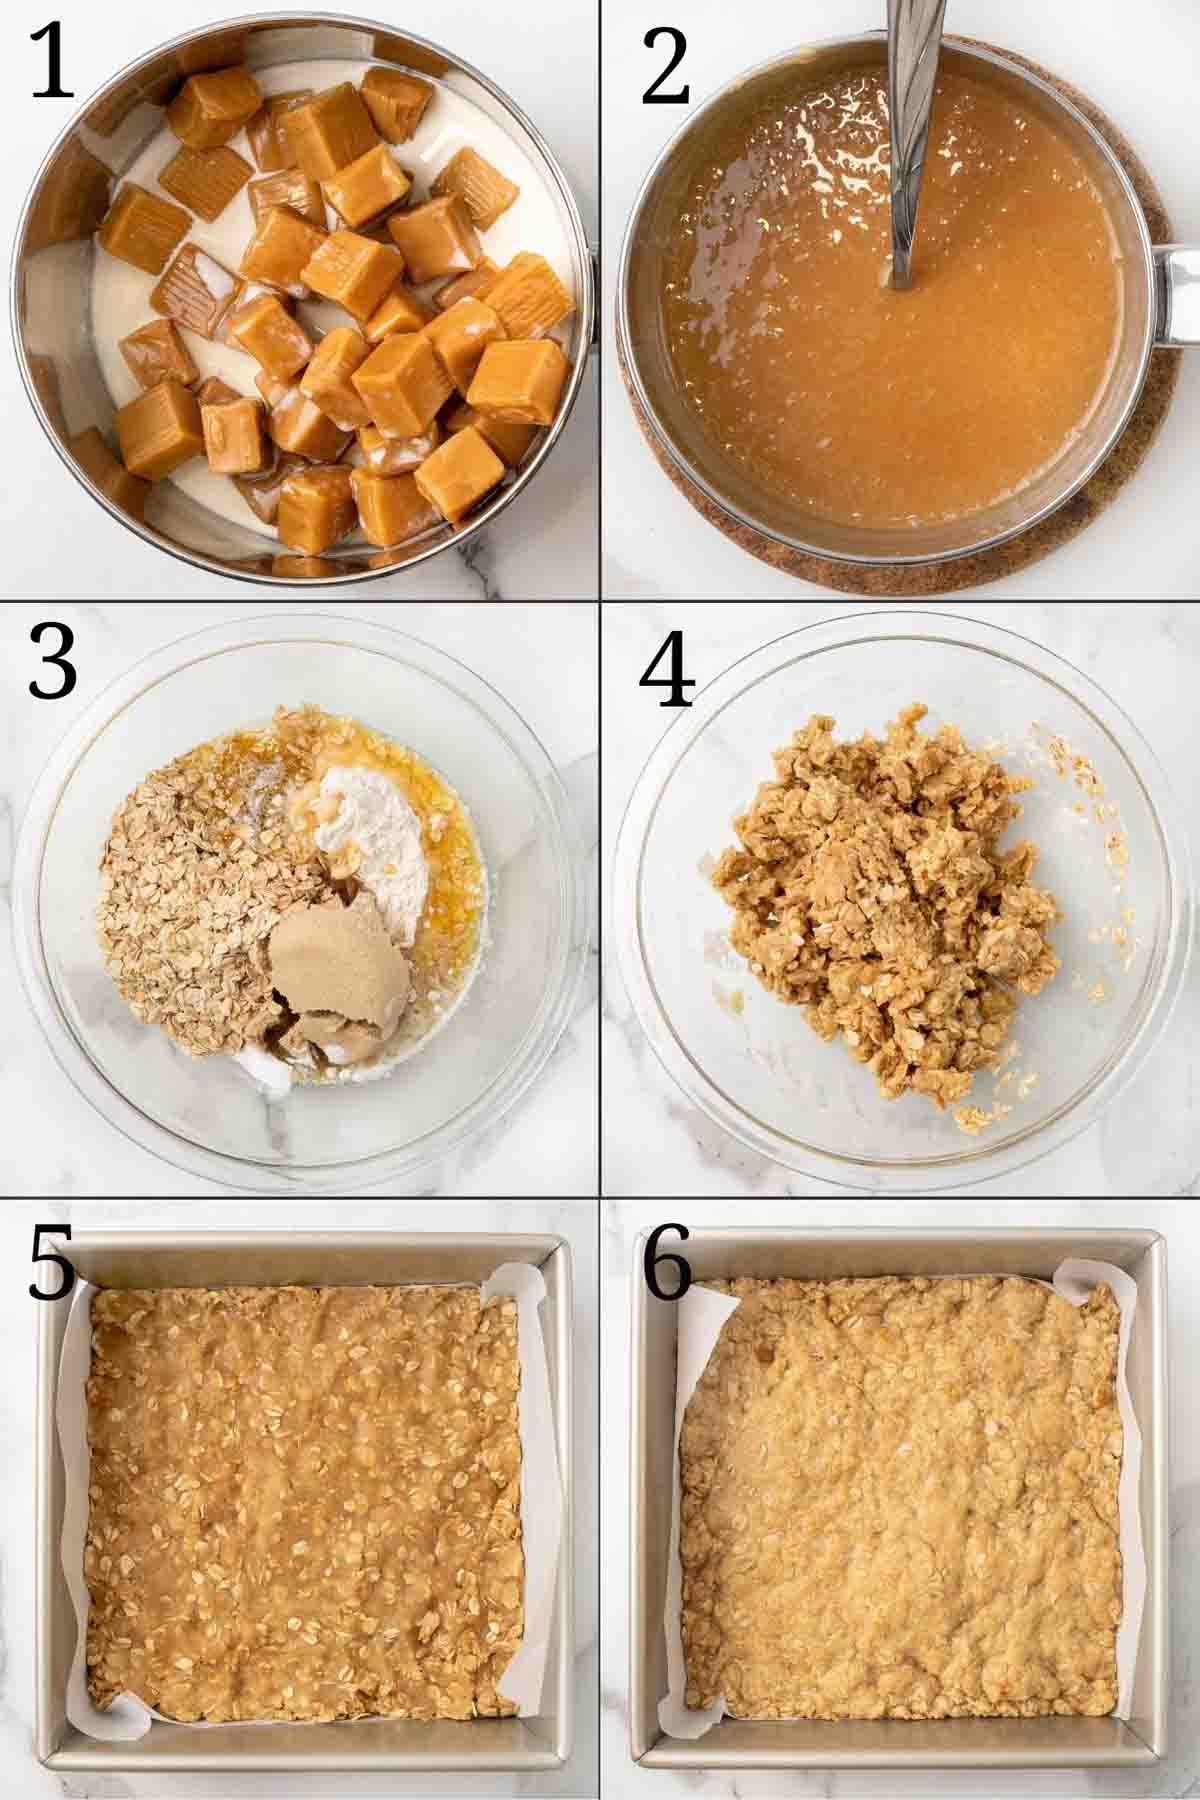
Add the unwrapped caramels and heavy cream to a small saucepan over medium-high heat.
Stir until the mixture is completely smooth, then set aside to cool slightly and thicken.
Add the melted butter, brown sugar, all-purpose flour, old-fashioned oats, baking soda, vanilla extract, and table salt to a large bowl.
Beat with a hand mixer until a thick dough forms.
Divide the mixture in half and pour half of it into the prepared pan. Press the mixture evenly, and smooth it to form the bottom layer.
Place the pan on the center rack of the preheated oven and bake for 8-10 minutes.
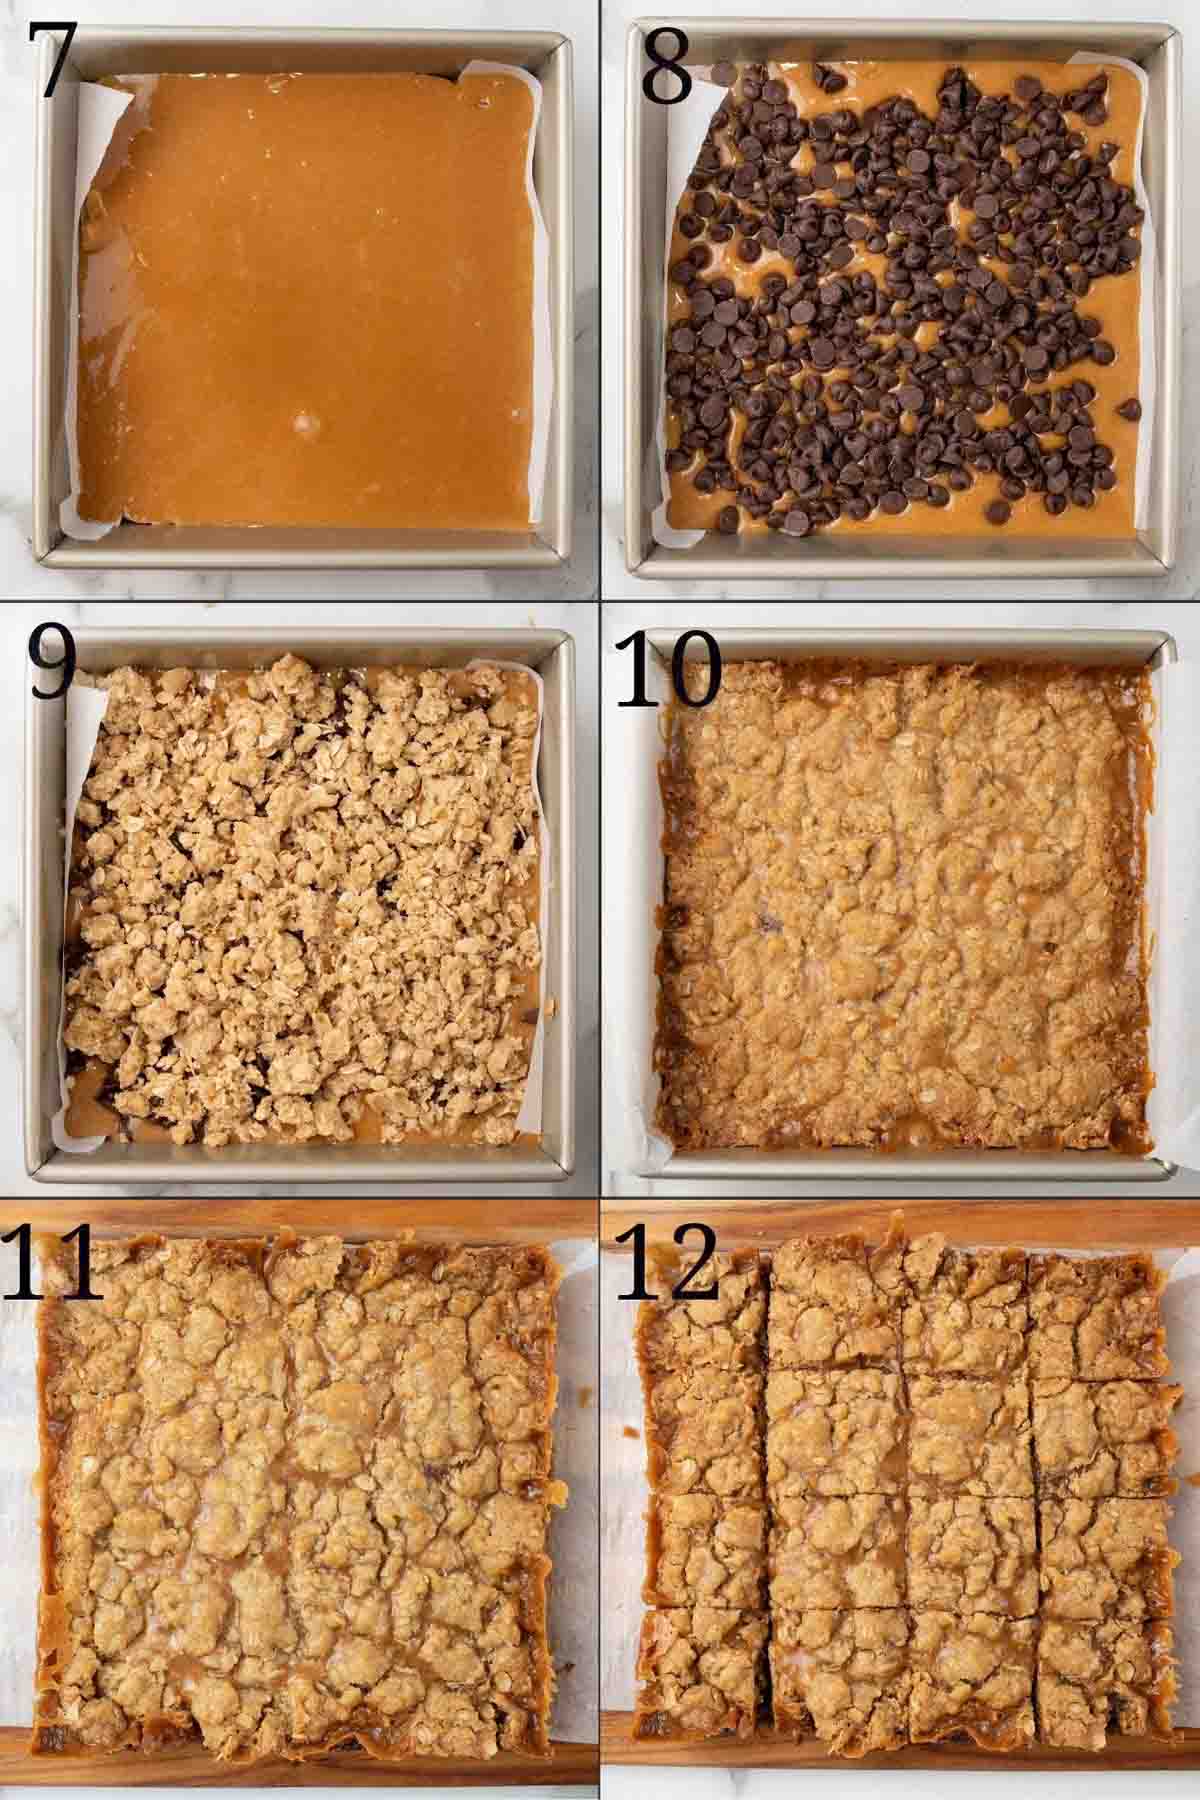
Remove the pan from the oven and pour the slightly cooled caramel into the pan. Gently smooth the mixture into an even layer.
Sprinkle the chocolate chips over the caramel.
Crumble the remaining oatmeal mixture over the caramel. Don’t press it down!
Return the pan to the oven and bake for 14-18 minutes or until edges are lightly browned and center is bubbling slightly.
Place the pan on a wire rack to cool for one hour. Don’t rush the process; otherwise, you’ll end up with a gooey mess.
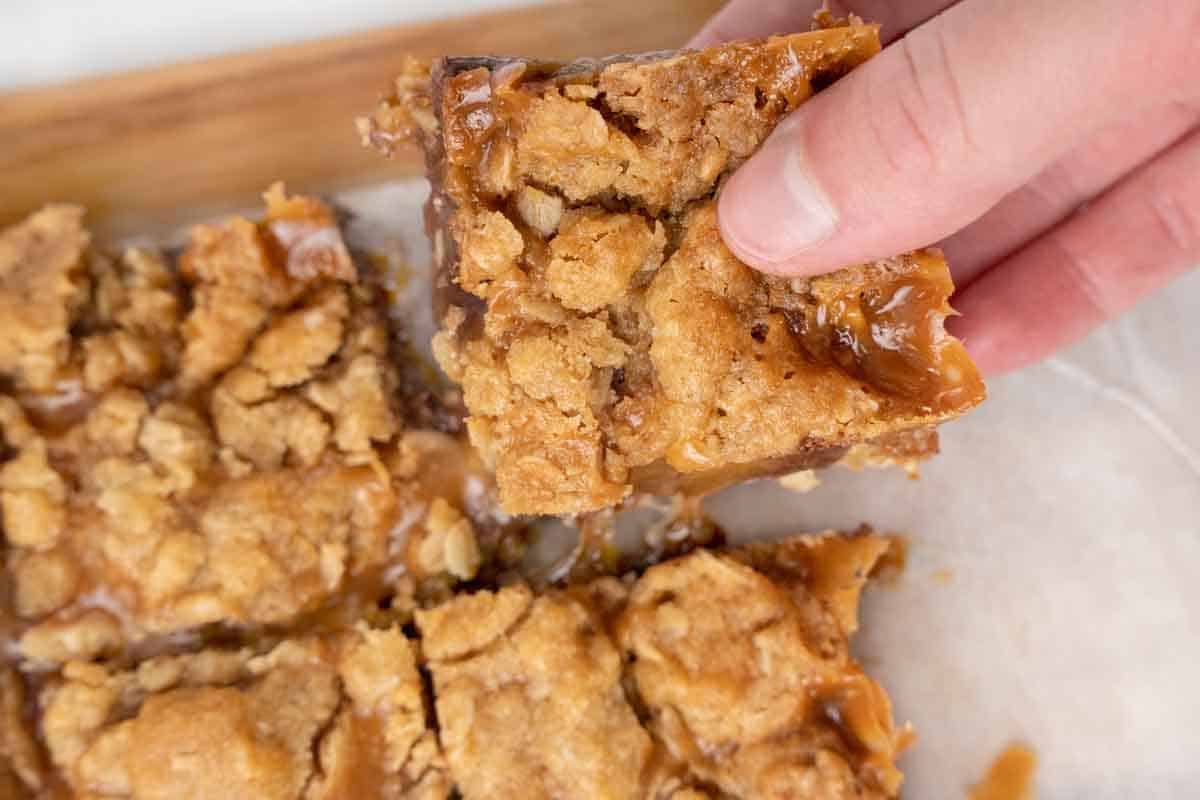
Slice the cooled bars into 16 portions, serve, and enjoy!
Perfect for family get-togethers, potlucks, or any time you want to bring a delicious burst of fun to the table.
Put them out and watch them disappear while everyone insists they’re “just having one”!
How to Store and Freeze
Store cooled Carmelitas in an airtight container at room temperature for up to 3 days. For longer storage, refrigerate them for up to a week, bringing them to room temperature before serving for the best texture.
They also freeze well. Wrap tightly in plastic wrap and place in a freezer-safe bag or container for up to 3 months.
Recipe FAQs
Letting these bars cool for at least two hours is no joke. It’s what lets the gooey caramel set so the bars cut cleanly and don’t turn into a delicious mess. Some folks chill them in the fridge to speed this step up, but patience pays off.
Whether you’re melting caramel candies or using jarred sauce, heat is usually the culprit. If it’s cooked too long, it can separate and become oily. If it’s not cooked enough, it won’t thicken. If you’re using a jarred sauce, make sure to simmer it for a few minutes to reduce the liquid before adding it to the bars.
Overbaking is usually the cause, so start checking them about 5 minutes before the baking time is up. The edges should be lightly golden when you pull them from the oven, not deep brown.
More Recipes You’ll Love!

Carmelitas Recipe
Bake up my rich, gooey Carmelitas with layers of buttery oatmeal, luscious caramel, and chocolate. A decadent dessert everyone will love!
Ingredients
1x2x3x
Instructions
Preheat oven to 350 degrees F.
Line an 8×8-inch pan with parchment paper, leaving an overhang on each side to make their removal easier.
Add the unwrapped caramels and heavy cream to a small saucepan over medium-high heat. Stir until the mixture is completely smooth, then set aside to cool slightly and thicken.
Add the melted butter, brown sugar, all-purpose flour, old-fashioned oats, baking soda, vanilla extract, and table salt to a large bowl.
Beat with a hand mixer until a thick dough forms.
Divide the mixture in half and pour half of it into the prepared pan. Press the mixture evenly, and smooth it to form the bottom layer.
Place the pan on the center rack of the preheated oven and bake for 8-10 minutes.
Remove the pan from the oven and pour the slightly cooled caramel into the pan. Gently smooth the mixture into an even layer.
Sprinkle the chocolate chips over the caramel.
Crumble the remaining oatmeal mixture over the caramel. Don’t press it down!
Return the pan to the oven and bake for 14-18 minutes or until edges are lightly browned and center is bubbling slightly.
Place the pan on a wire rack to cool for one hour. Don’t hurry the process, otherwise you’ll end up with a gooey mess.
Slice the cooled bars into 16 portions, serve, and enjoy!
Notes
Can I Make Adjustments to the Recipe?
Absolutely. We made our Carmelitas with old-fashioned oats, but you can use quick oats if you prefer a softer texture.
For the caramel layer, replace wrapped caramels with store-bought caramel sauce to save a little time, or try our Homemade Caramel Sauce for a richer flavor.
If you like a bolder chocolate flavor, swap the semi-sweet chocolate chips for dark chocolate, or mix in a few milk chocolate chips for extra sweetness.
How to Store and Freeze
Store cooled Carmelitas in an airtight container at room temperature for up to 3 days. For longer storage, refrigerate them for up to a week, bringing them to room temperature before serving for the best texture.
They also freeze well. Wrap tightly in plastic wrap and place in a freezer-safe bag or container for up to 3 months.
Why do Carmelitas need a long cooling time?
Letting these bars cool for at least two hours is no joke. It’s what lets the gooey caramel set so the bars cut cleanly and don’t turn into a delicious mess. Some folks chill them in the fridge to speed this step up, but patience pays off.
Why is my caramel layer too runny?
Whether you’re melting caramel candies or using jarred sauce, heat is usually the culprit. If it’s cooked too long, it can separate and become oily. If it’s not cooked enough, it won’t thicken. If you’re using a jarred sauce, make sure to simmer it for a few minutes to reduce the liquid before adding it to the bars.
Why are my Carmelitas too hard?
Overbaking is usually the cause, so start checking them about 5 minutes before the baking time is up. The edges should be lightly golden when you pull them from the oven, not deep brown.
Nutrition
Calories: 460kcalCarbohydrates: 58gProtein: 5gFat: 24gSaturated Fat: 14gPolyunsaturated Fat: 2gMonounsaturated Fat: 6gTrans Fat: 0.5gCholesterol: 41mgSodium: 262mgPotassium: 230mgFiber: 3gSugar: 38gVitamin A: 472IUVitamin C: 0.1mgCalcium: 72mgIron: 2mg